Size Chart — Steps
Purpose
Create and configure a size chart that displays product measurements in a table with optional image and visibility settings.
Prerequisites
- Logged in as Admin or Catalog Manager.
- Decide columns/rows and prepare an optional image file.
Steps
-
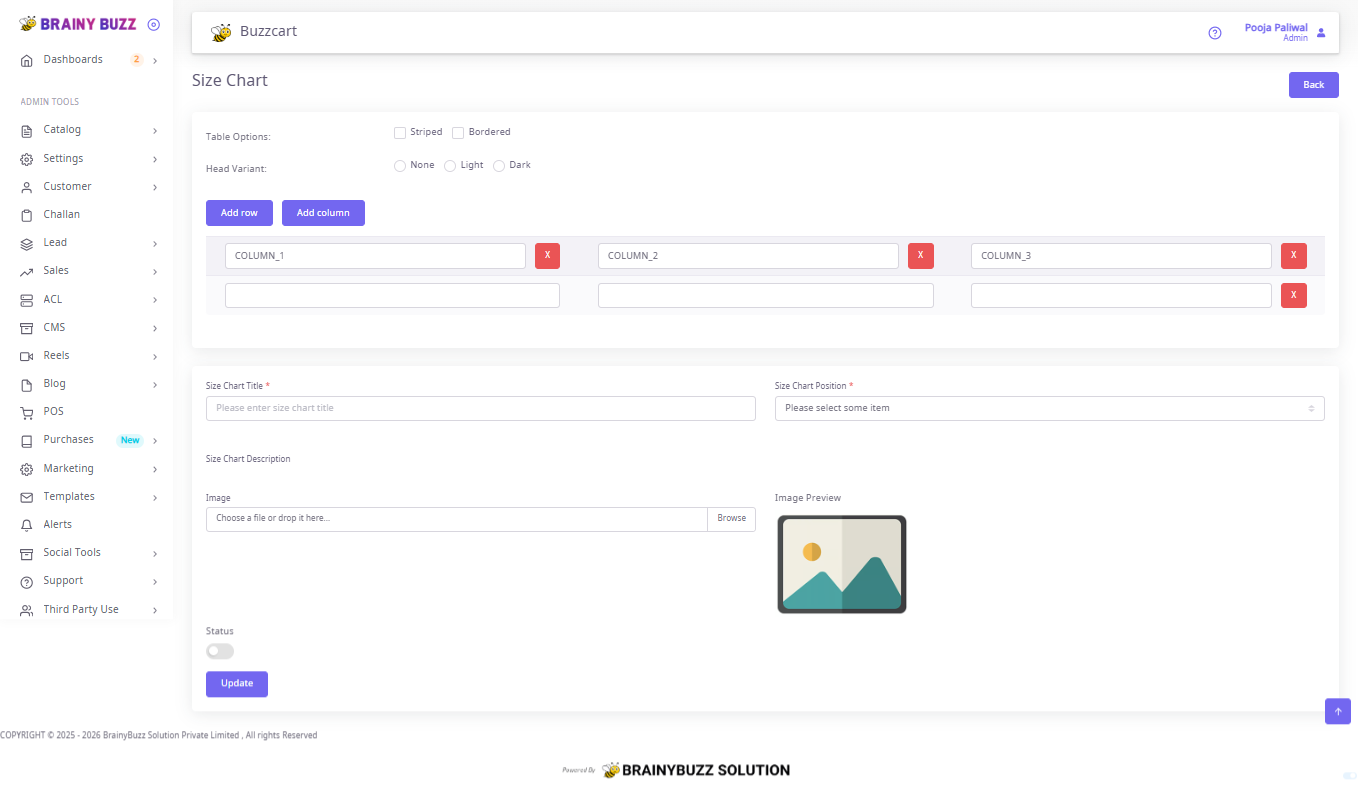
Open the Size Chart editor
- Navigate: Catalog → Size Chart and confirm the table editor and form fields are visible.
-
Configure table appearance
- Toggle Striped for alternate row backgrounds.
- Toggle Bordered to show cell borders.
- Select Head Variant (
None,Light,Dark) for header styling.
-
Add columns and rows
- Click Add column to create a header cell (default
COLUMN_n). - Click Add row to create a new data row.
- Remove a column or row by clicking the red X on its card.
- Click Add column to create a header cell (default
-
Edit headers and cells
- Replace header placeholders with labels (e.g., Size, Chest (cm), Length (cm)).
- Enter numeric or text values into each row cell (e.g.,
S,88,66).
-
Enter title and position
- Fill Size Chart Title (required).
- Select Size Chart Position from the dropdown.
-
Optional: add description
- Fill Size Chart Description for display on the product page.
-
Optional: upload image
- Use Choose a file or drop it here... or Browse to upload.
- Confirm the image appears in Image Preview.
-
Set status and save
- Toggle Status ON to make the chart active.
- Click Update to save the size chart.
-
Verify
- Open a product that uses this size chart and confirm the table, title, description, and image display correctly.