Post Categories — Steps
Purpose
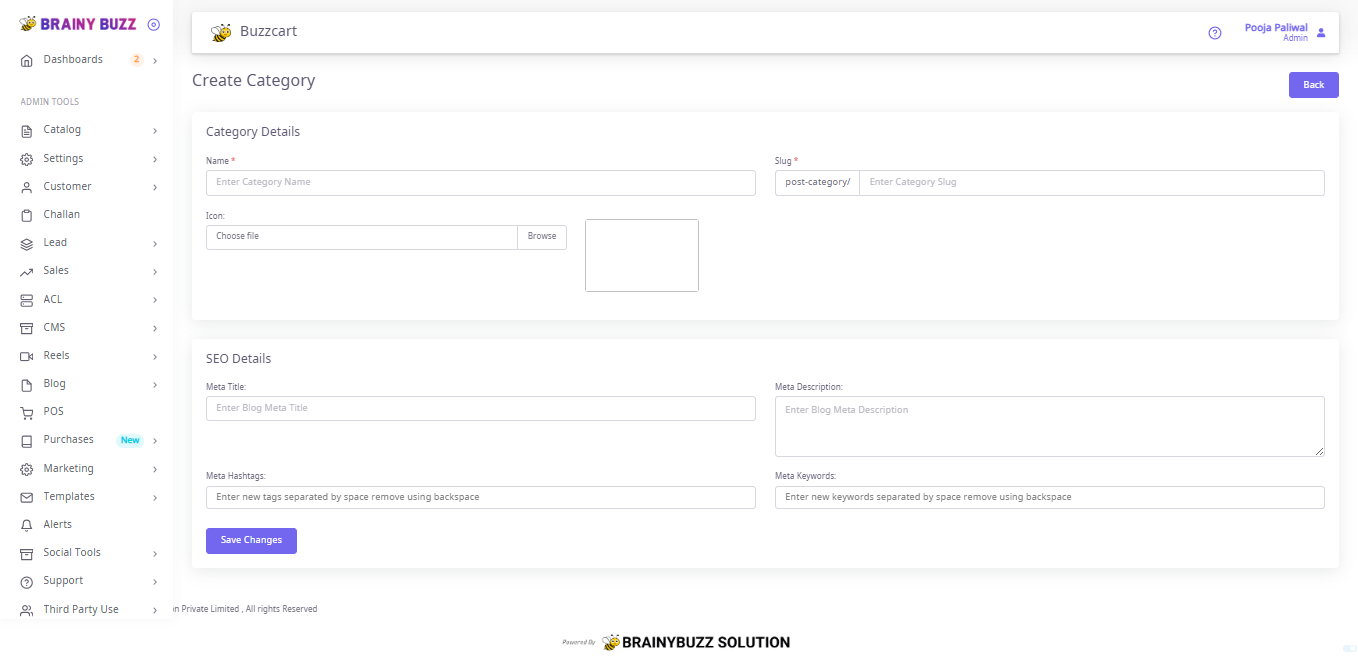
Create and configure a post category with an icon and SEO metadata.
Prerequisites
- Logged in as Admin or Catalog Manager.
- Decide the Name and Slug for the category; have an icon file ready (optional).
Navigation
- Go to Blog → Post Categories → Create Category.
Steps
-
Open Create Category
- Navigate to the Create Category screen.
-
Enter Category Name
- In Name enter the category title.
- Required.
-
Set Slug
- In Slug enter the URL fragment (prefilled prefix
post-category/). - Use lowercase letters and hyphens (e.g.,
summer-collection).
- In Slug enter the URL fragment (prefilled prefix
-
Upload Icon (optional)
- Click Choose file / Browse under Icon.
- Select an image file and confirm the preview displays.
-
Fill SEO Details
- Meta Title — short page title for search results.
- Meta Description — concise description for SERPs.
- Meta Hashtags — enter tags separated by space (use backspace to remove).
- Meta Keywords — enter keywords separated by space (use backspace to remove).
-
Save
- Click Save Changes to create the category.
-
Verify
- Confirm the category appears in the category list and the slug and icon are correct.
- Edit the category if you need to update metadata or replace the icon.