GTM
Introduction to Tags and Triggers
Google tags are snippets of code added to websites, they collect visitor data, providing insights for website optimization and marketing effectively. Triggers let you control when a tag should fire.
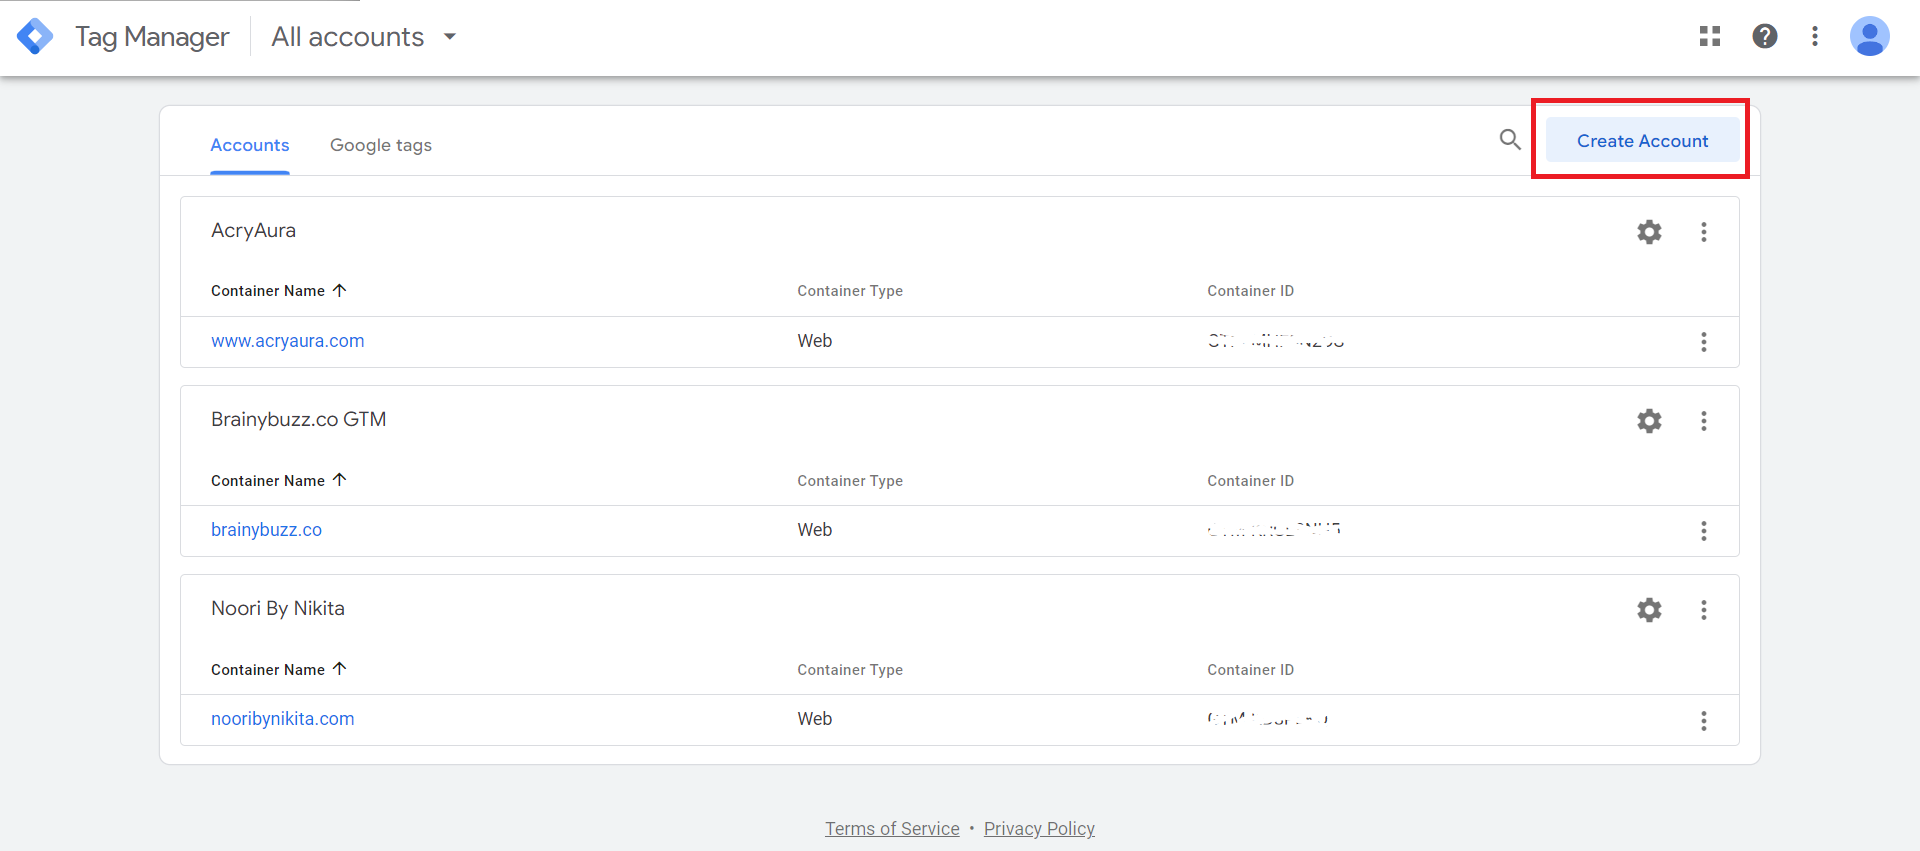
Now let's head to tagmanager.google.com, and click Create Account on the top right corner.
You need to name your account. Select your country. And choose if you want to share anonymous data with Google. Then we need to name our container. You can name your container anything you like, but make it easy to identify the website you're going to install it on. And since we're going to be measuring a website, let's select Web. And then click Create.
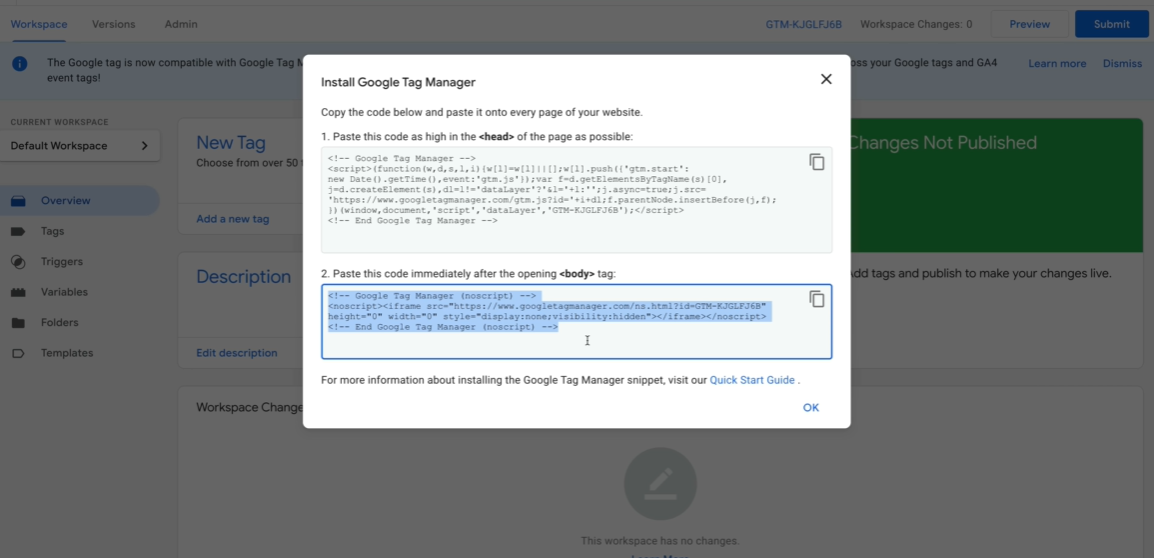
Our new account and container have now been created and we're now given two pieces of code. The first one is the most important. This is the JavaScript container code. And you will need to add this to all of the pages of your website. When we add Google Tag Manager to our website, we're adding this container code. This code should be placed inside the head tag on your website, and ideally, should be one of the first things in your head tag.
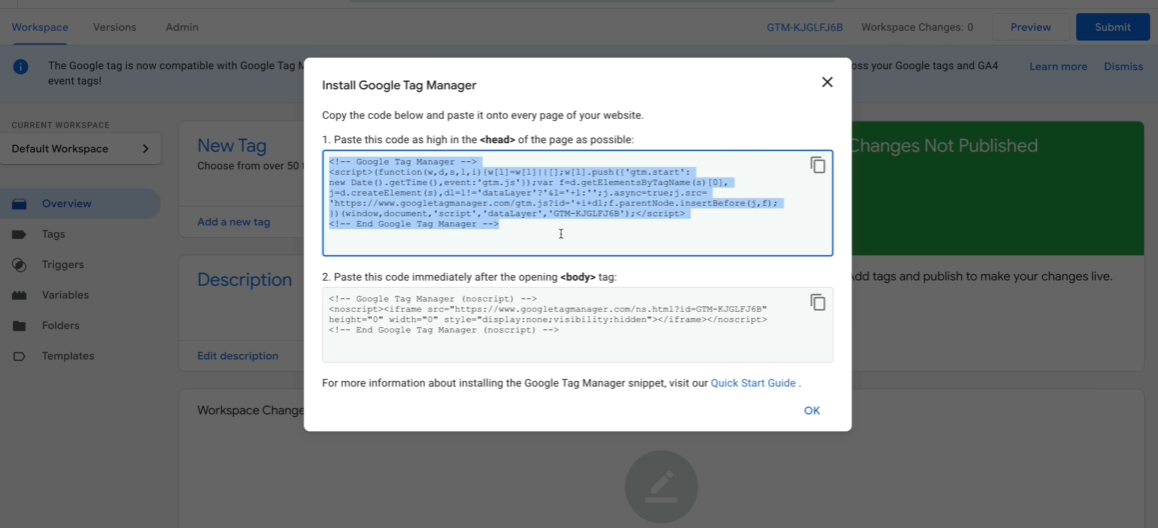
The second piece of code is the noscript version of the container. This will load if someone has JavaScript disabled. Since almost all of the tags we use in Google Tag Manager are JavaScript, this won't improve the accuracy of the data we collect. So if you can't add this extra noscript code to your website, it won't have a major impact.
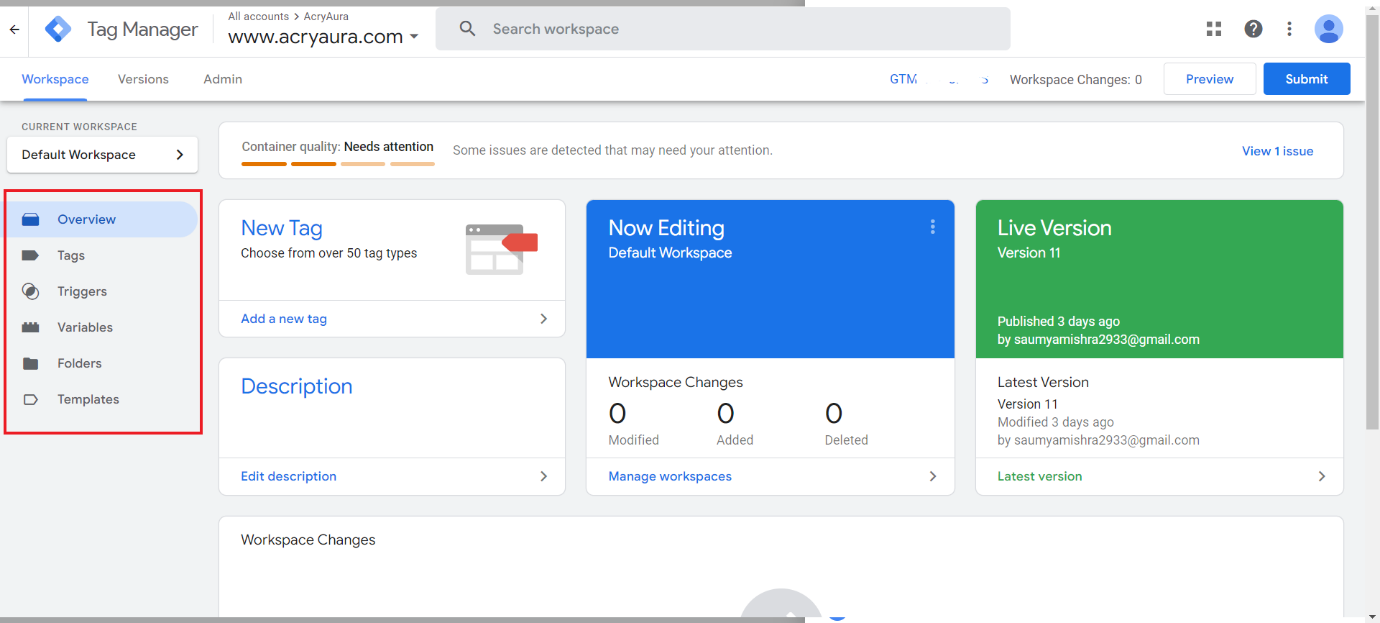
Below is the interface of Google Tag Manager on the left sidebar you will be able to access your tags, triggers, variables, folders, and templates
Tags:
Within Google Tag Manager (GTM), tags are versatile code snippets embedded on your website. Beyond just tracking user actions for analytics, these tags can execute dynamic functions, altering content, triggering scripts, managing cookies, or sending data to other platforms.
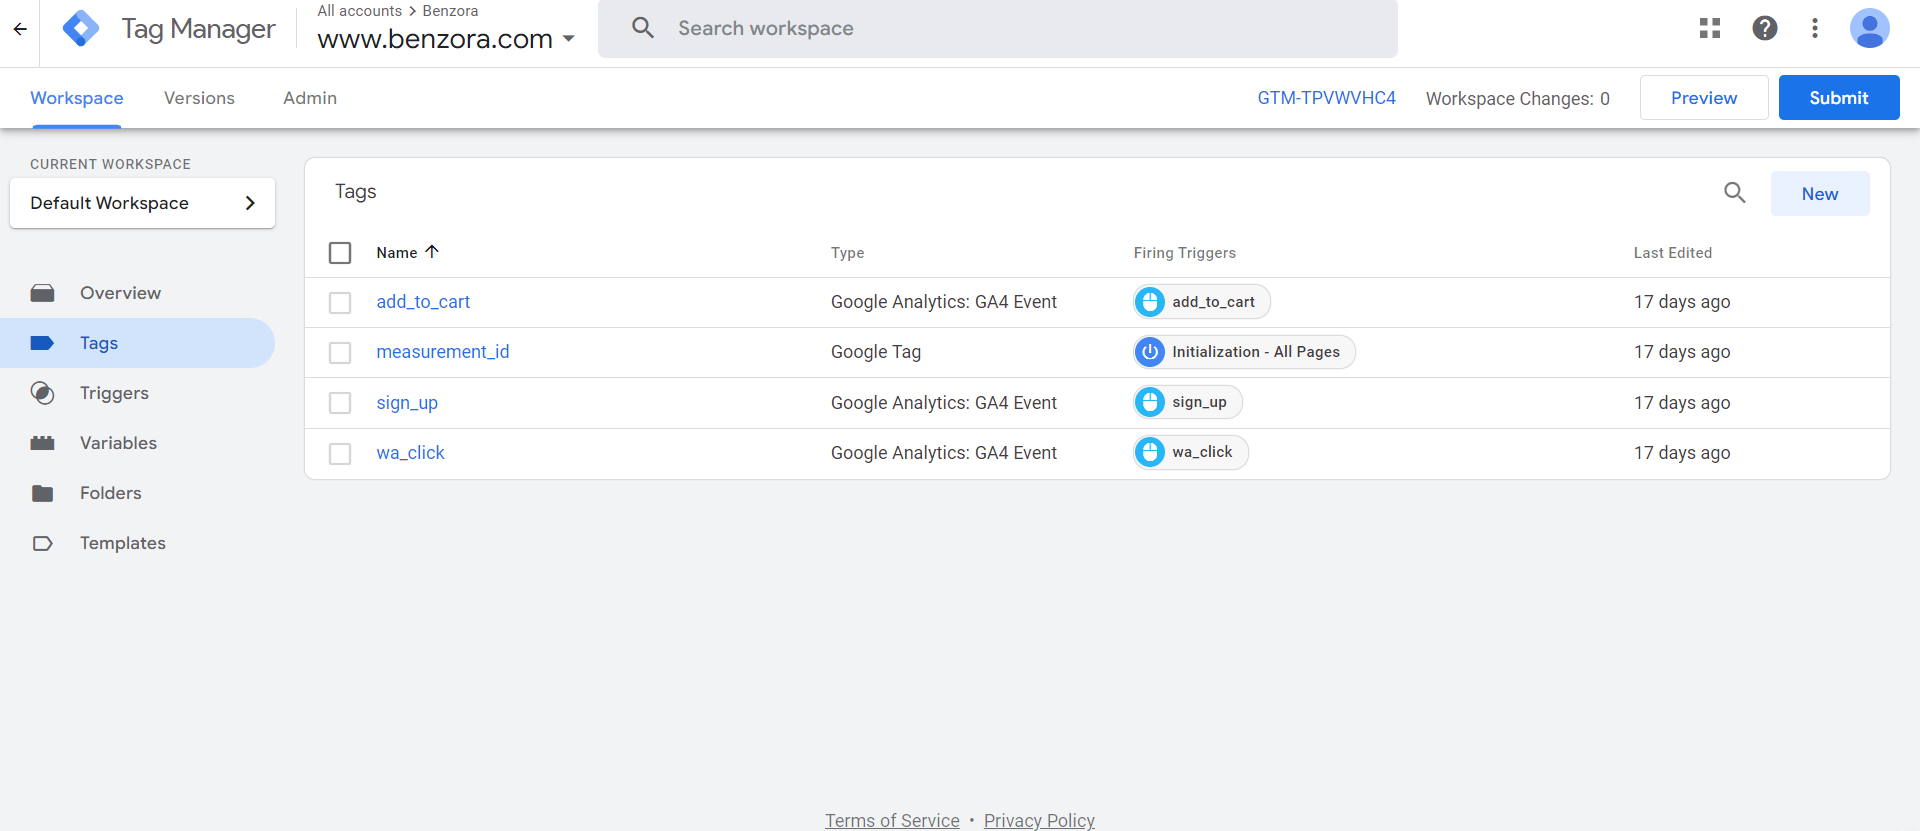
This extends GTM's capabilities beyond basic analytics, transforming it into a powerful tool for customizing user experiences, website optimization, and marketing technology integration.
Triggers:
In GTM, triggers are the fundamental components that dictate when a tag should execute. They define specific conditions or events on your website, like a button click, form submission, or reaching a certain scroll depth. These conditions essentially provide the necessary timing and context for tags to fire, enabling precise tracking and measurement of crucial user interactions, such as conversions or engagement metrics.

By setting clear triggers, you ensure that tags execute only when relevant, allowing for accurate data collection and analysis of user behavior.
Variables:
Within GTM, variables are critical for enhancing the specificity and functionality of both tags and triggers. These variables serve as placeholders that capture and store dynamic data points, enabling you to create more nuanced and adaptable tracking scenarios. They can contain essential information like page URLs, order totals, product names, user IDs, or any other data relevant to your tracking goals.
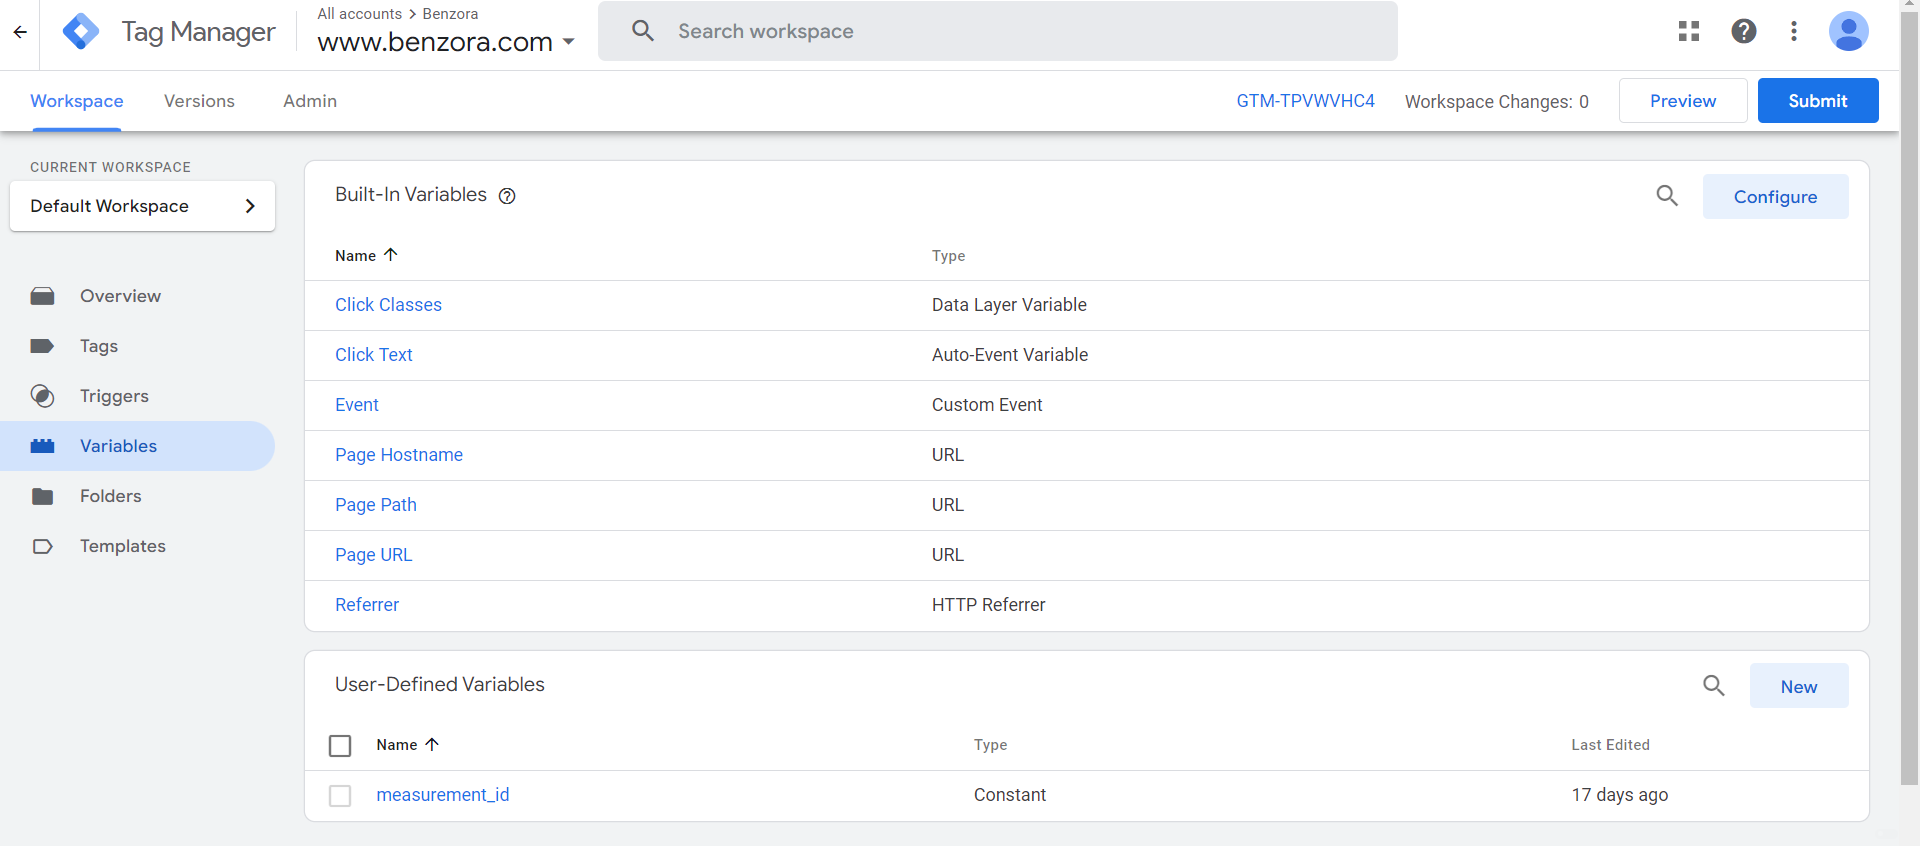
By incorporating variables into your tags and triggers, you can tailor their behavior based on the specific context of user interactions, enabling granular data collection and analysis within the GTM framework.
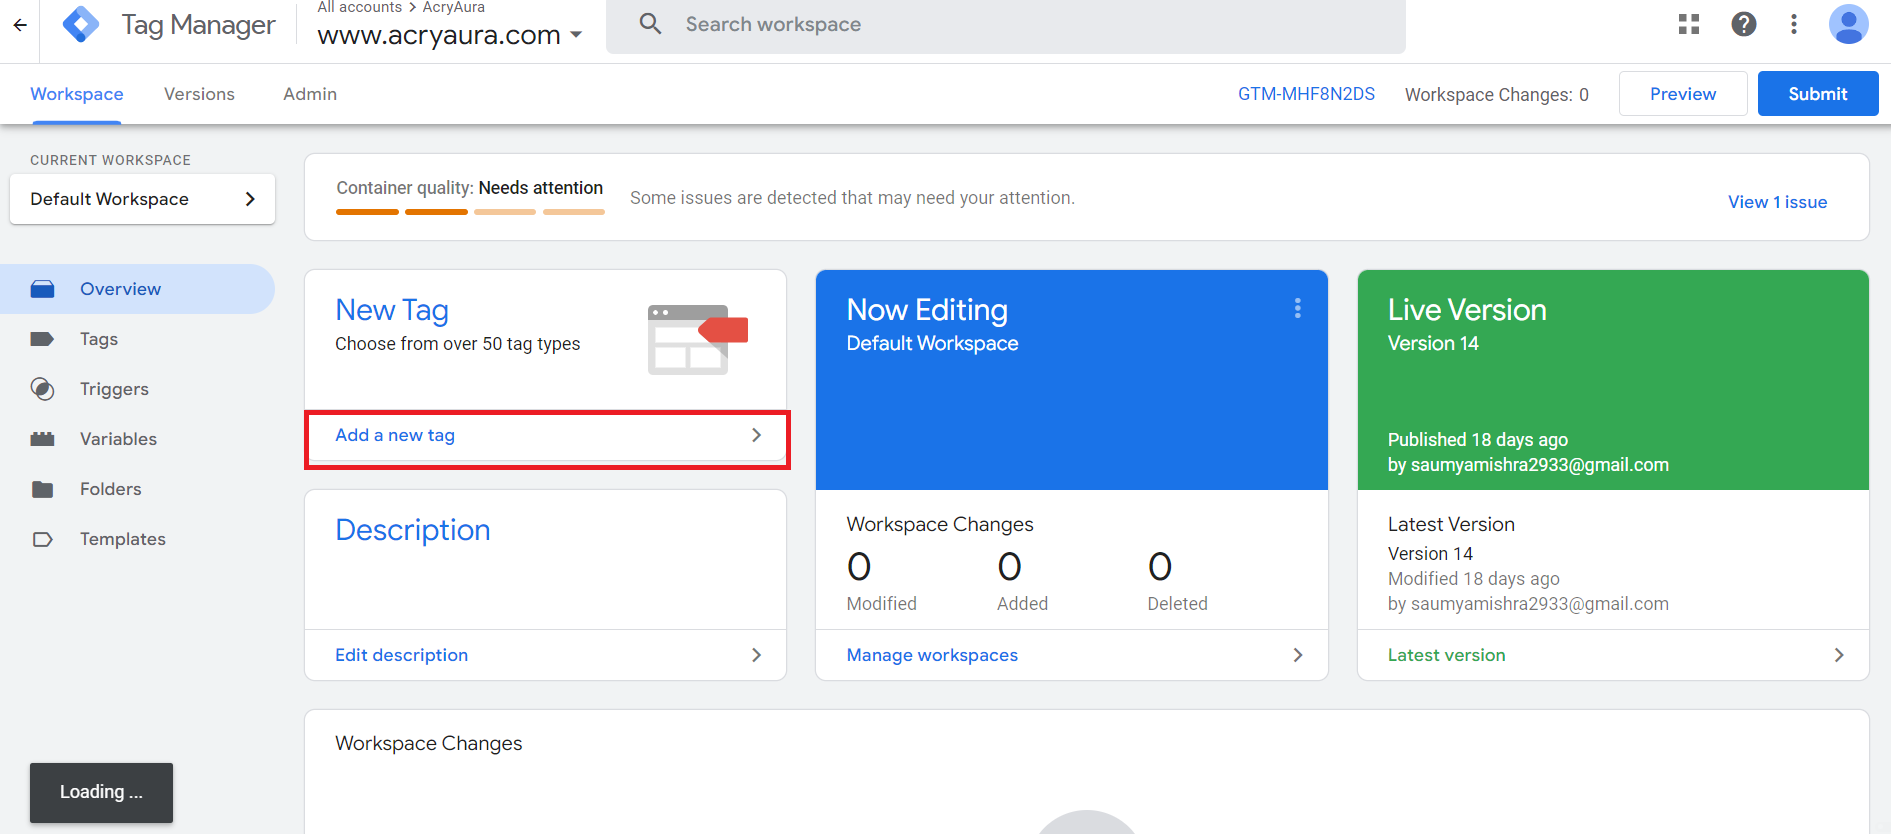
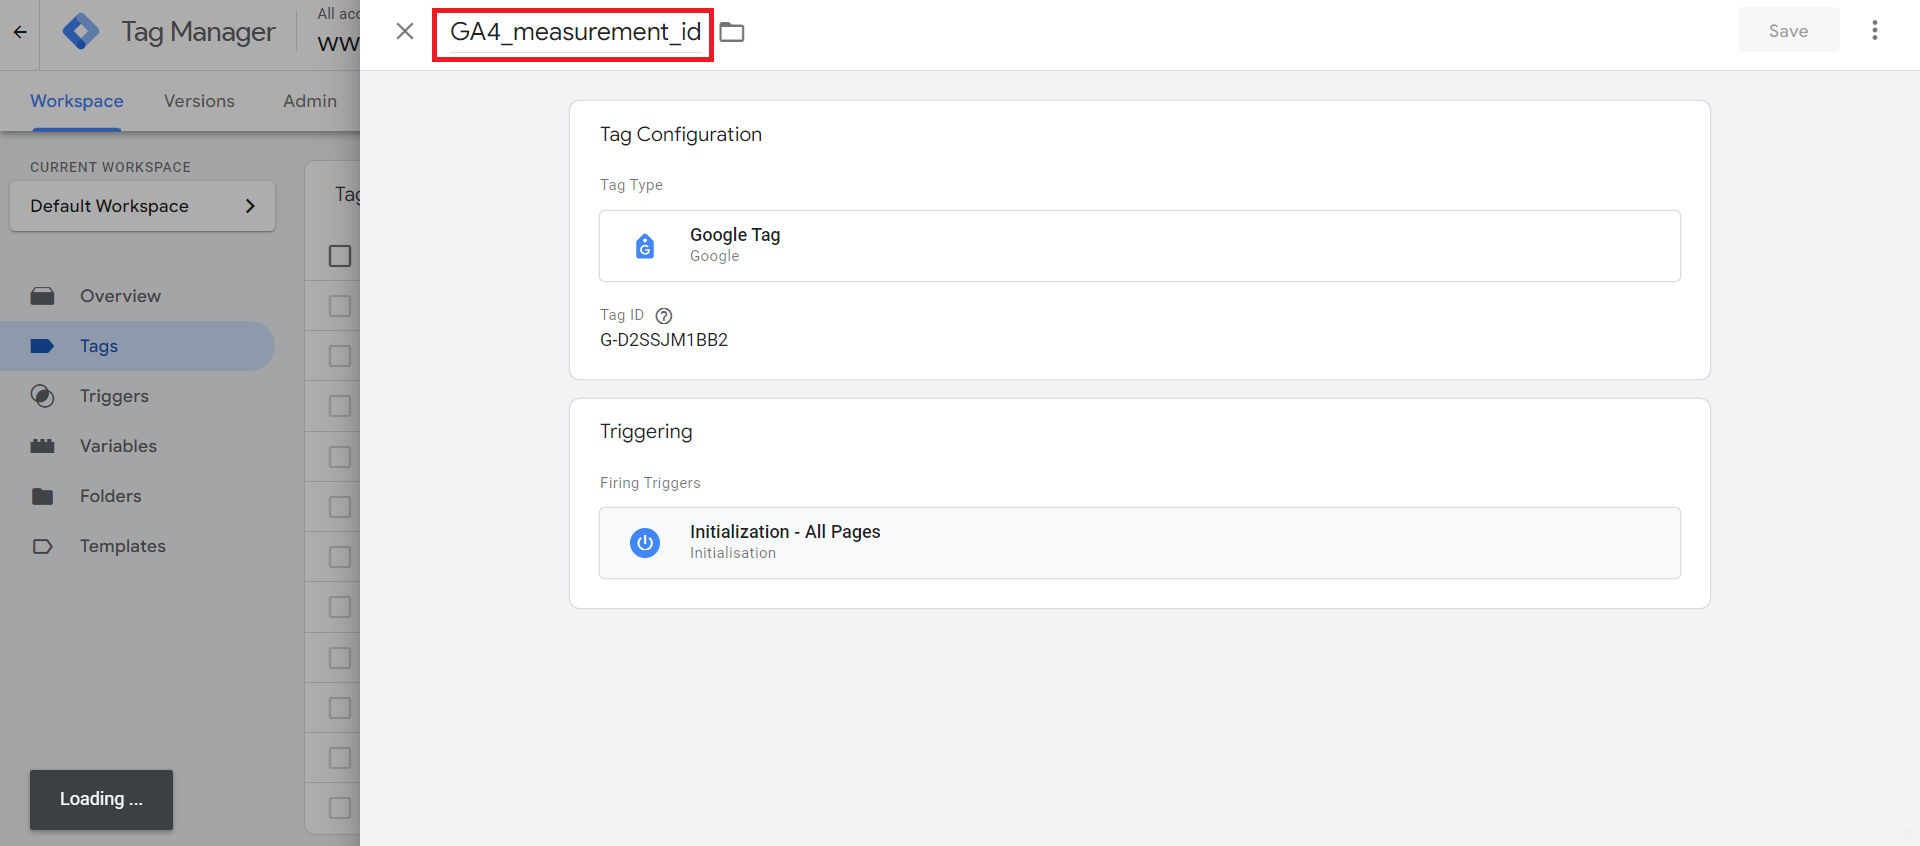
Let's configure our first tags so let's create a new tag.
- Select Add a new tag
- Let's name the tag GA4 measurement id
-
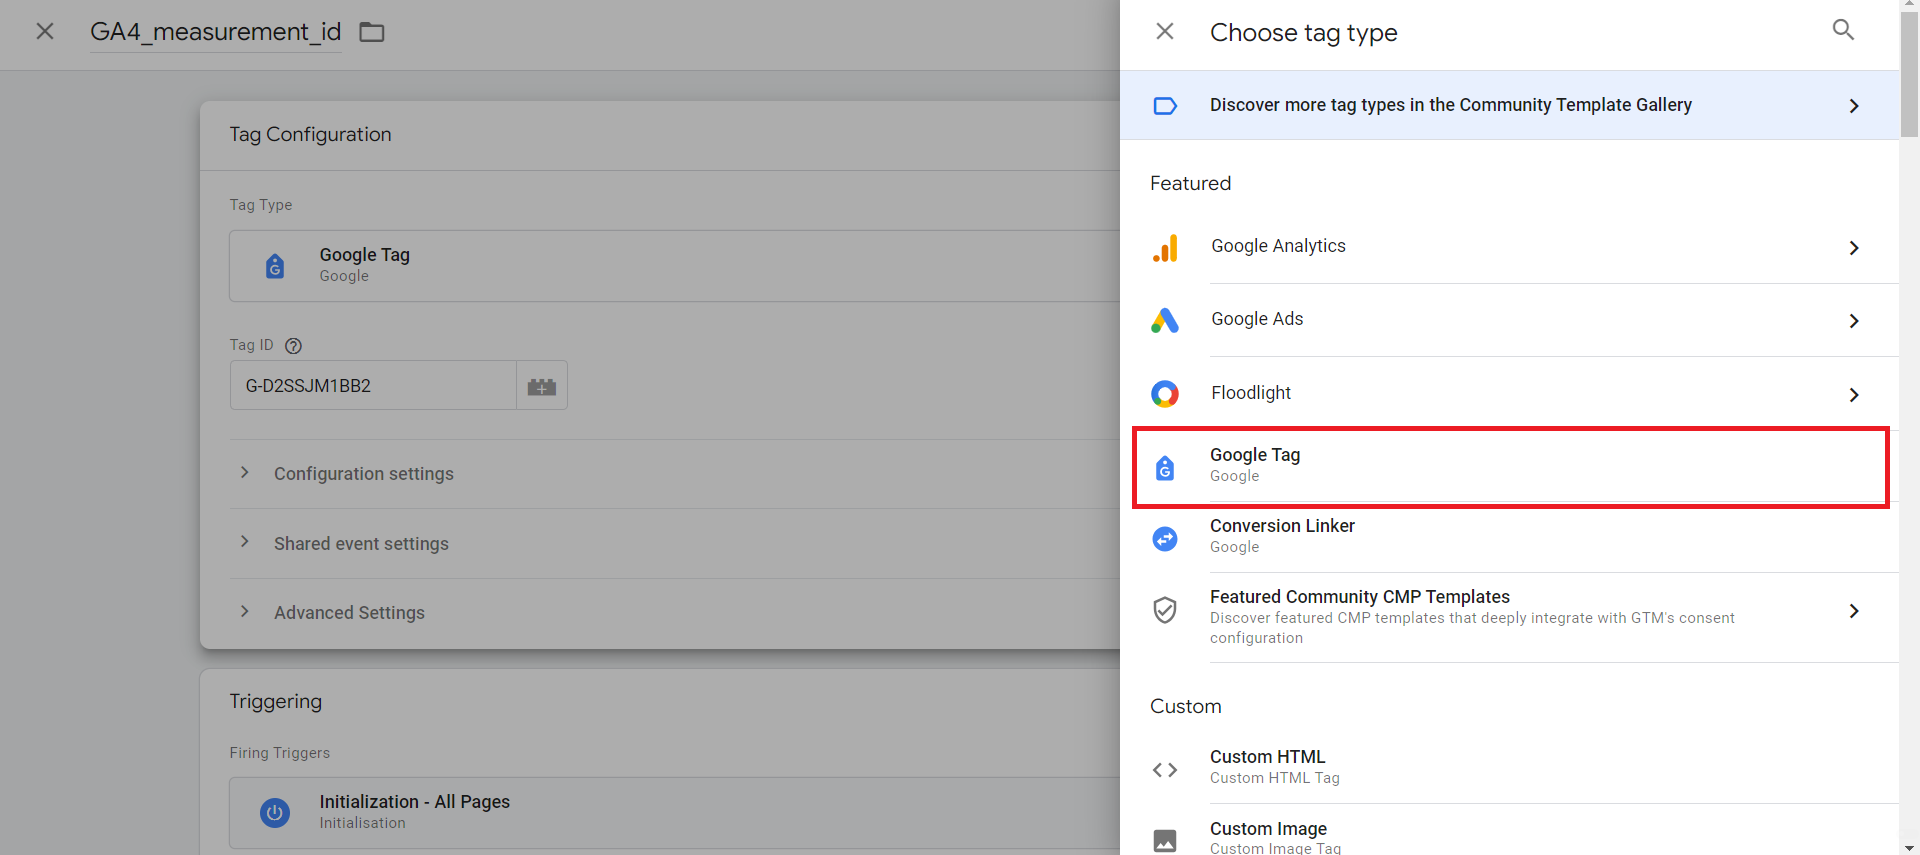
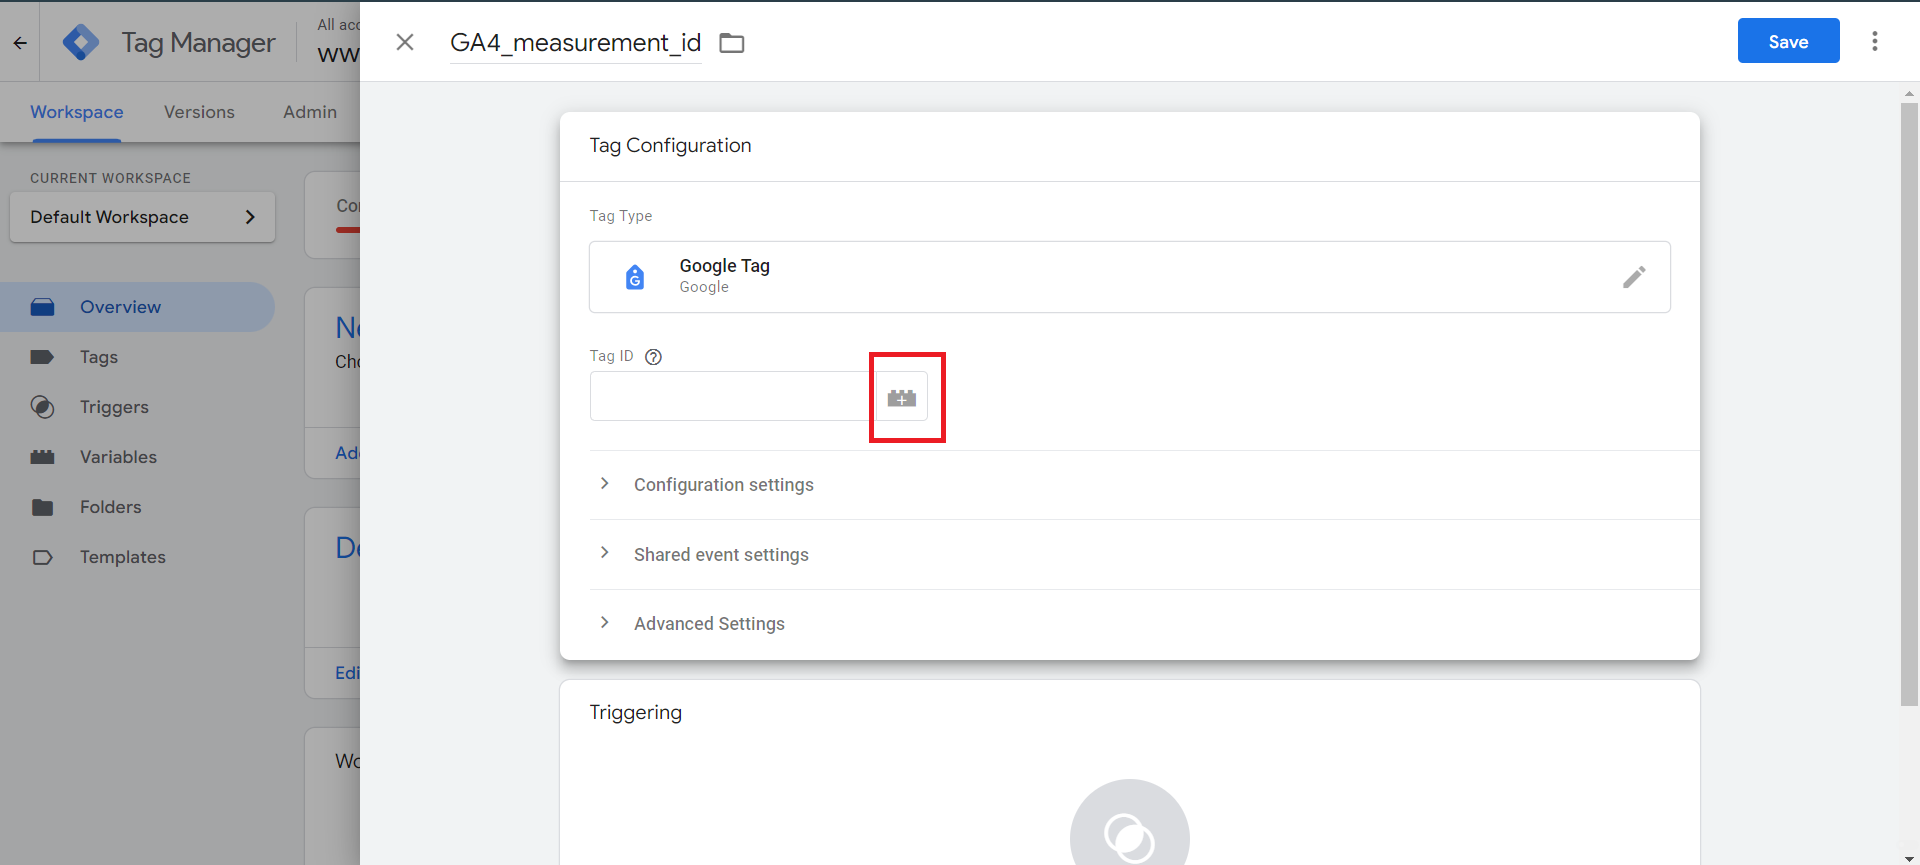
Select Tag Configuration
-
Select Google Tag as the tag type.
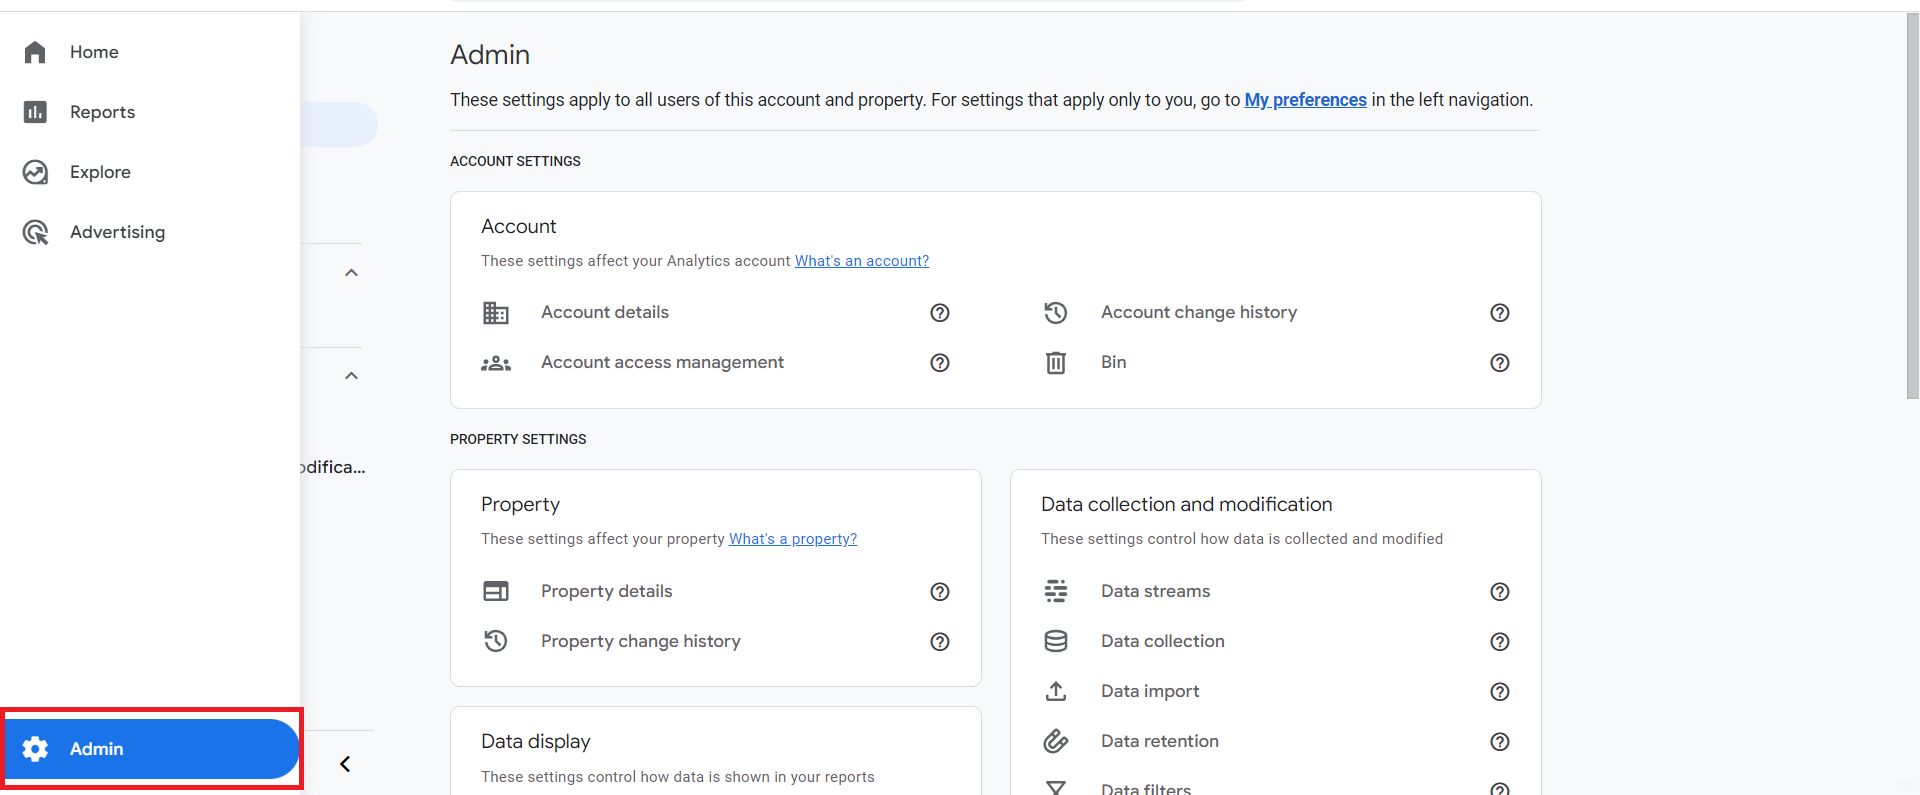
Now we need to get our Measurement ID,
- Go to Google Analytics -> In the left bottom corner click Admin
- Select Data collection and modification
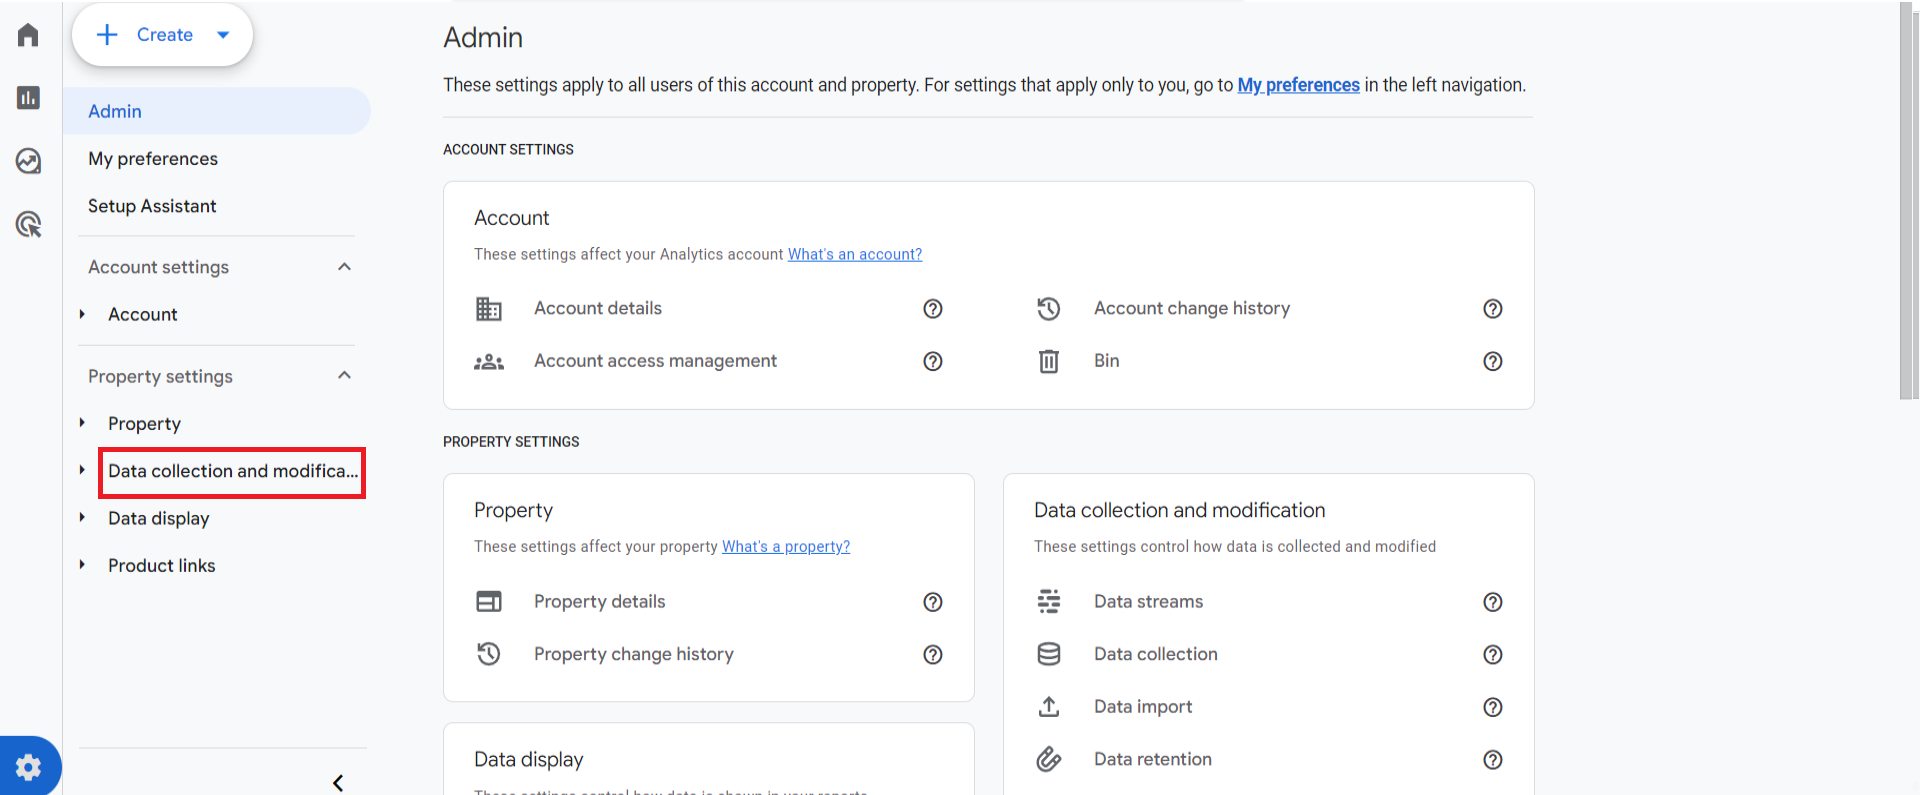
- Select Data Streams

- Select the data stream for my website -> Copy the Measurement ID on the top right corner.

You can paste the measurement ID under Tag ID, but we're going to create a variable so that we can reuse the measurement ID across multiple tags. This also means if you ever need to change the measurement ID, you can just update it in one place.
- Click the Plus icon under Tag ID
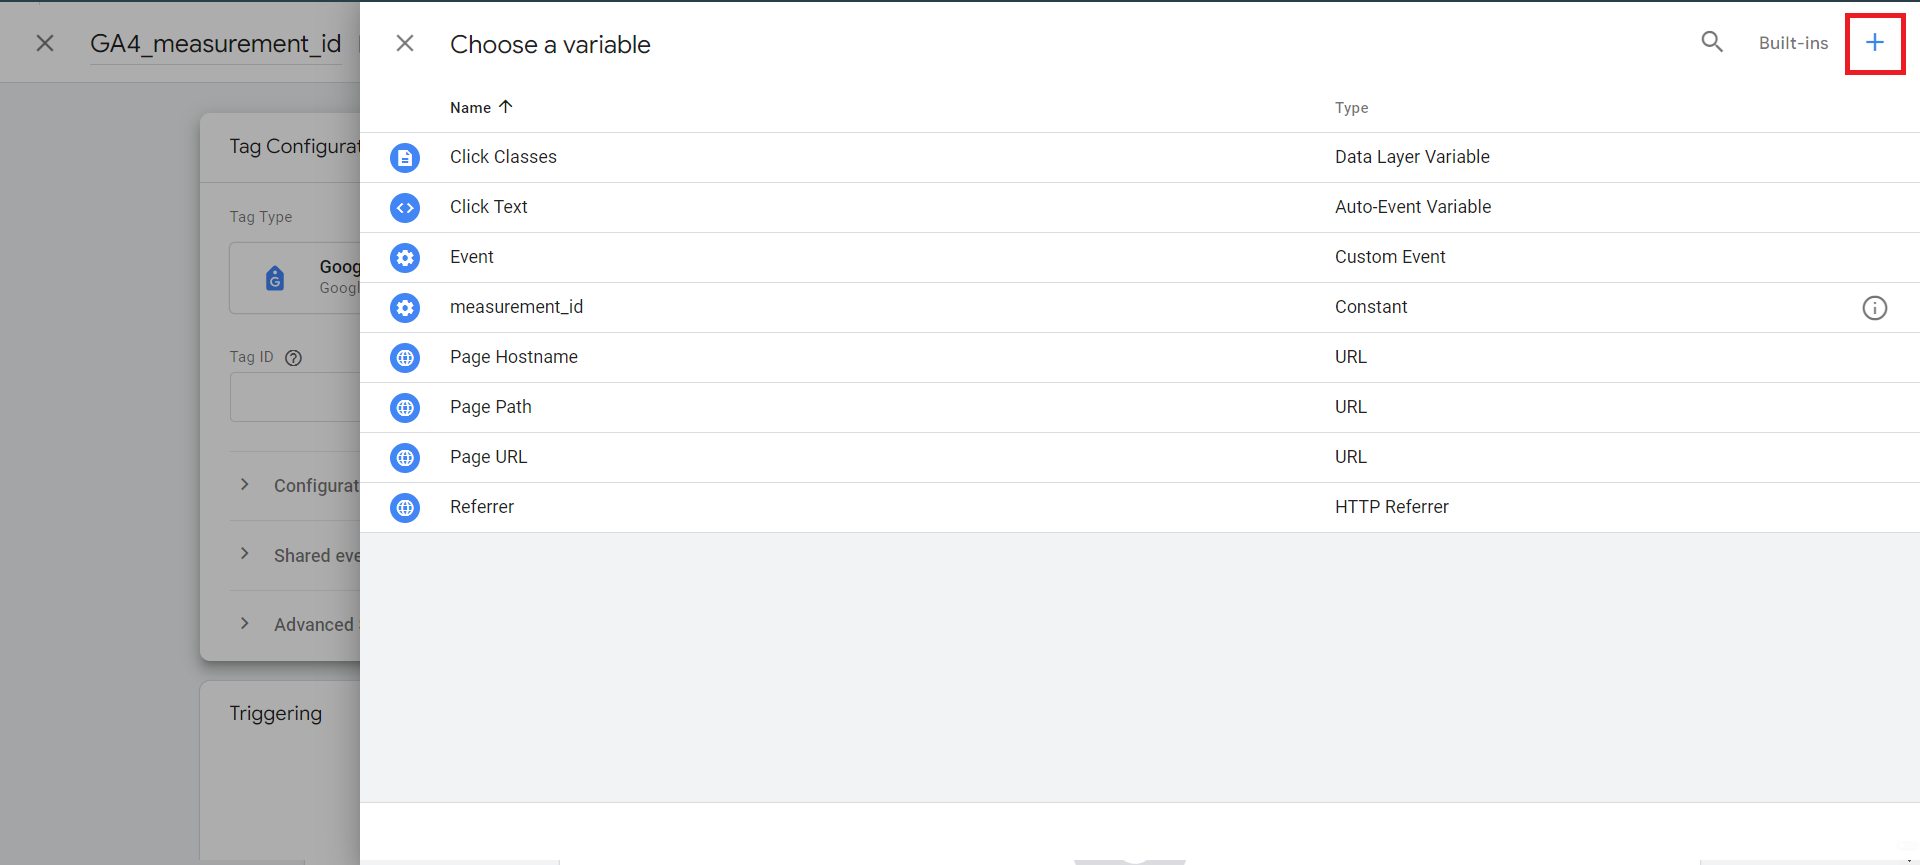
- Click the plus sign on the top right corner
-
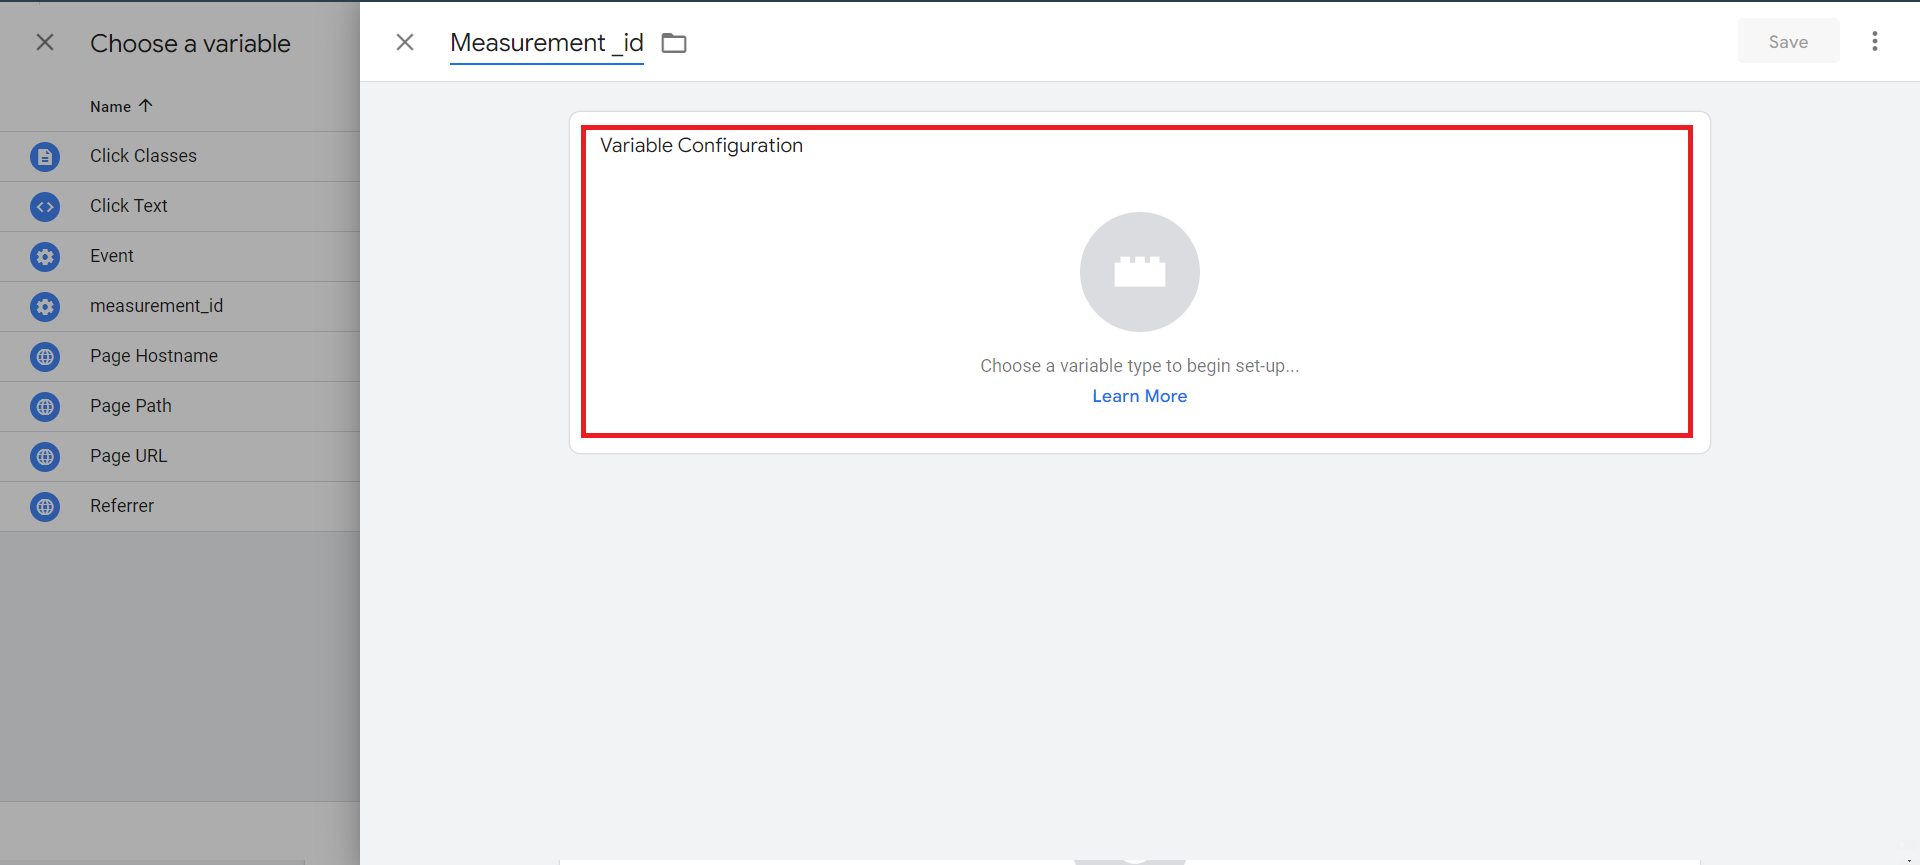
Let's name GA4 Measurement ID
-
Select Variable Configuration
- Choose Constant
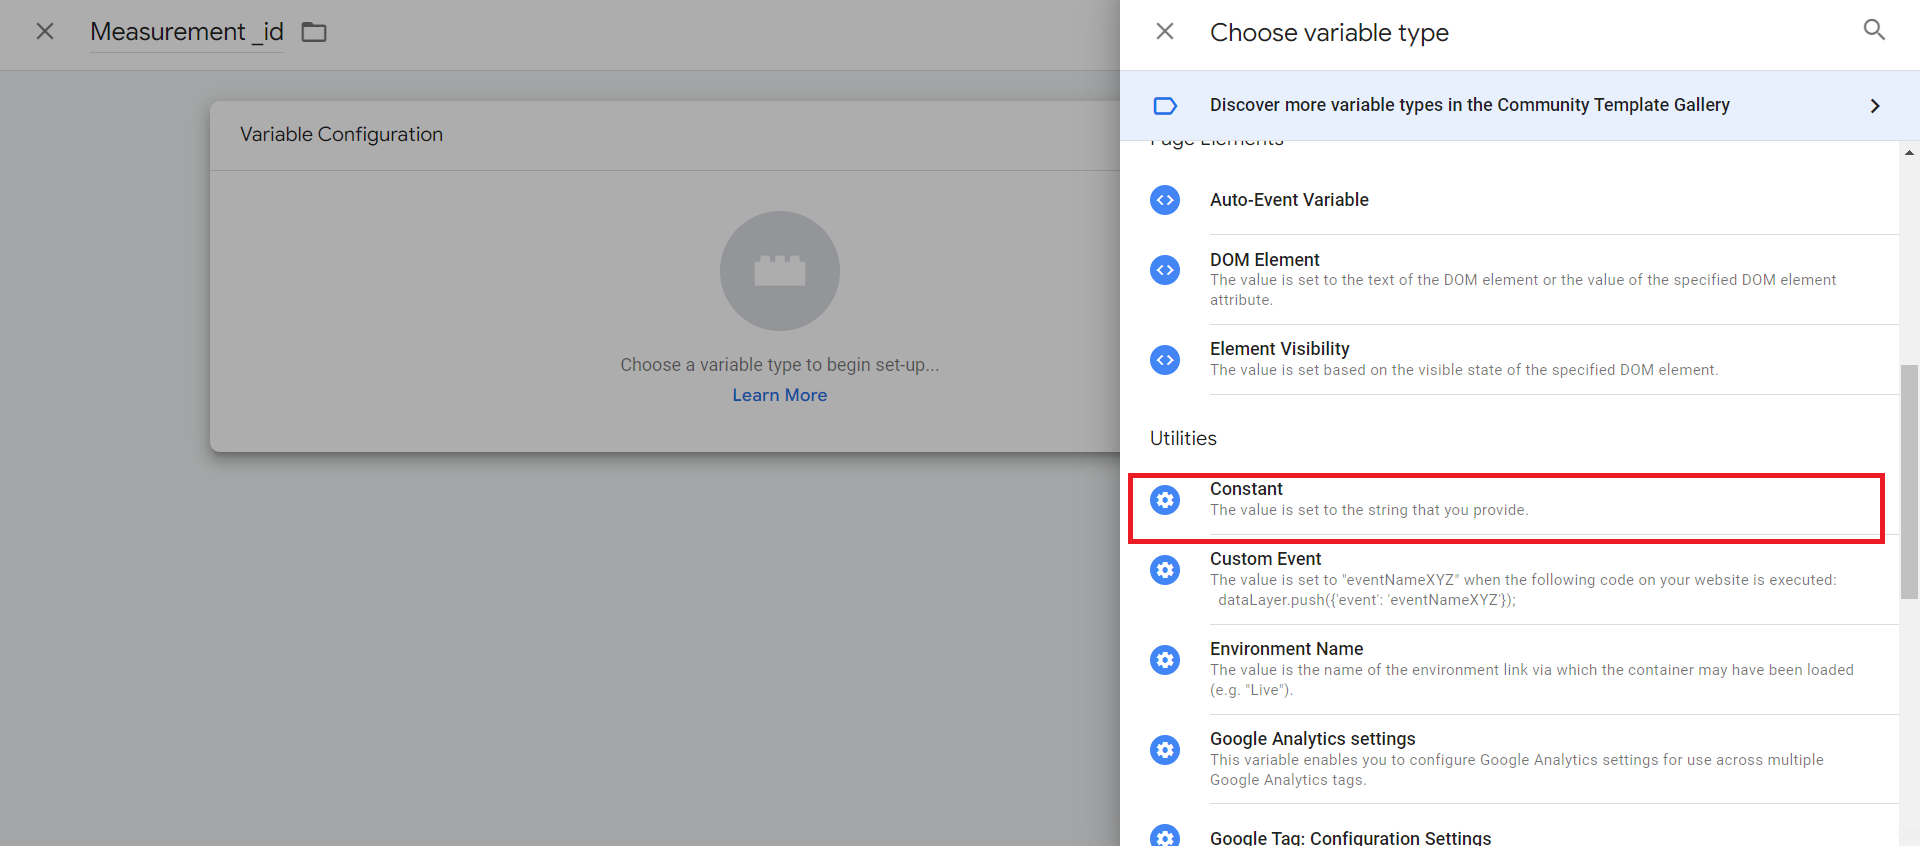
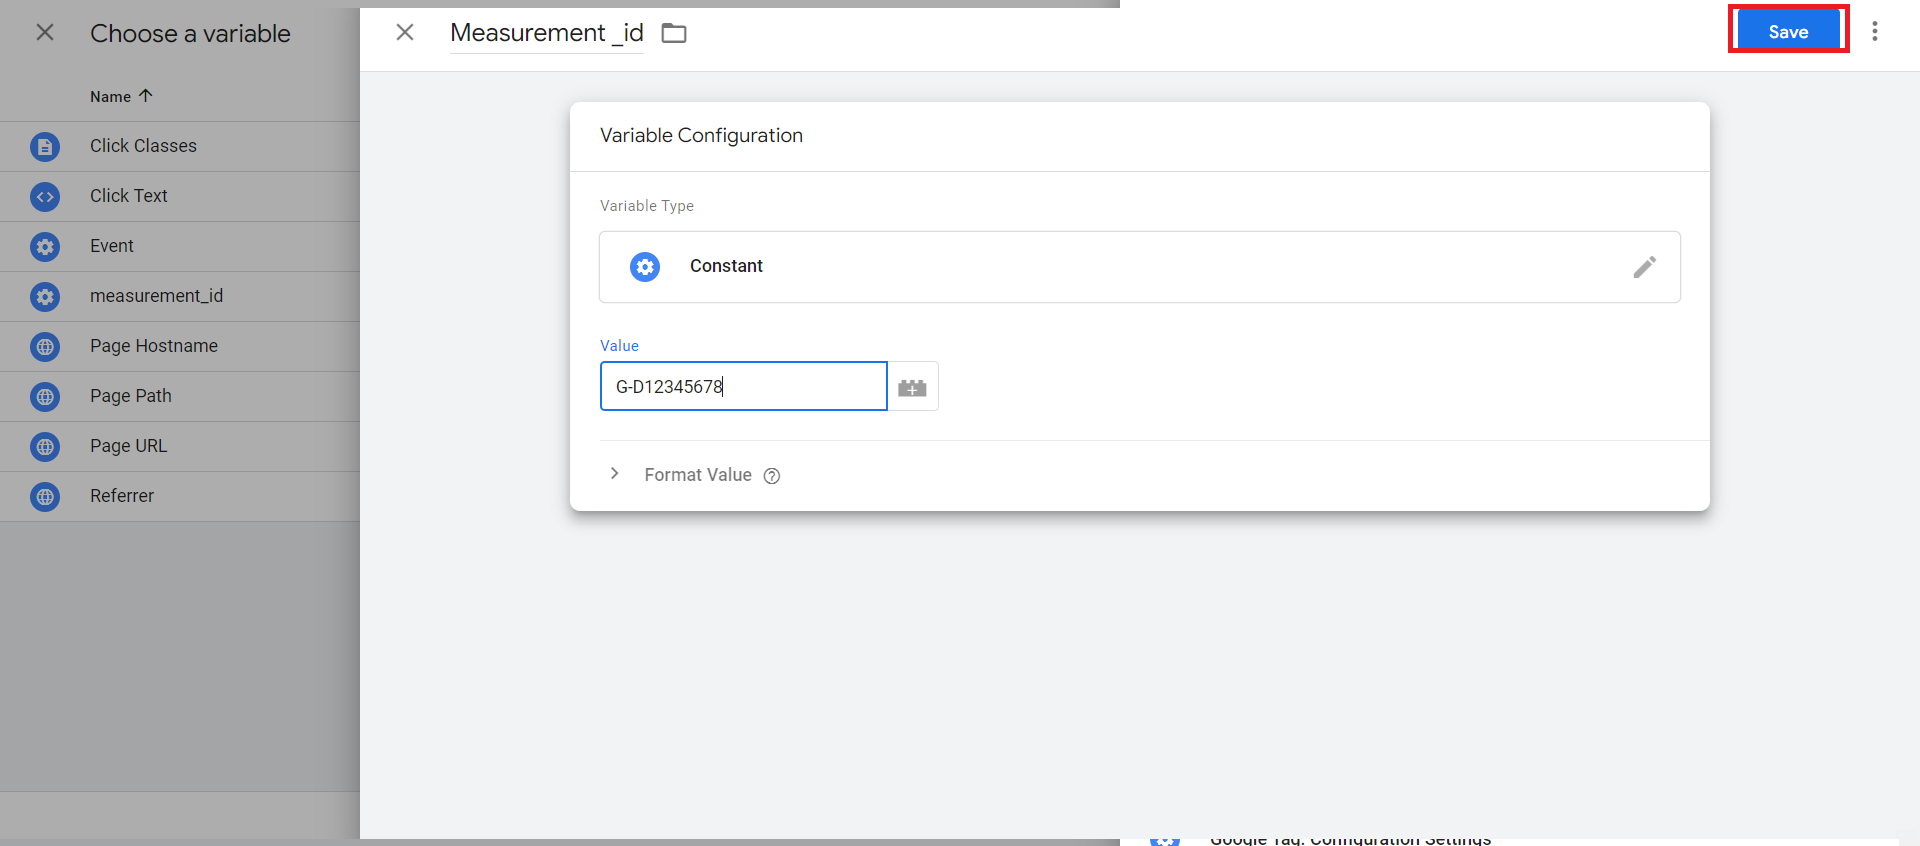
- Paste our measurement ID
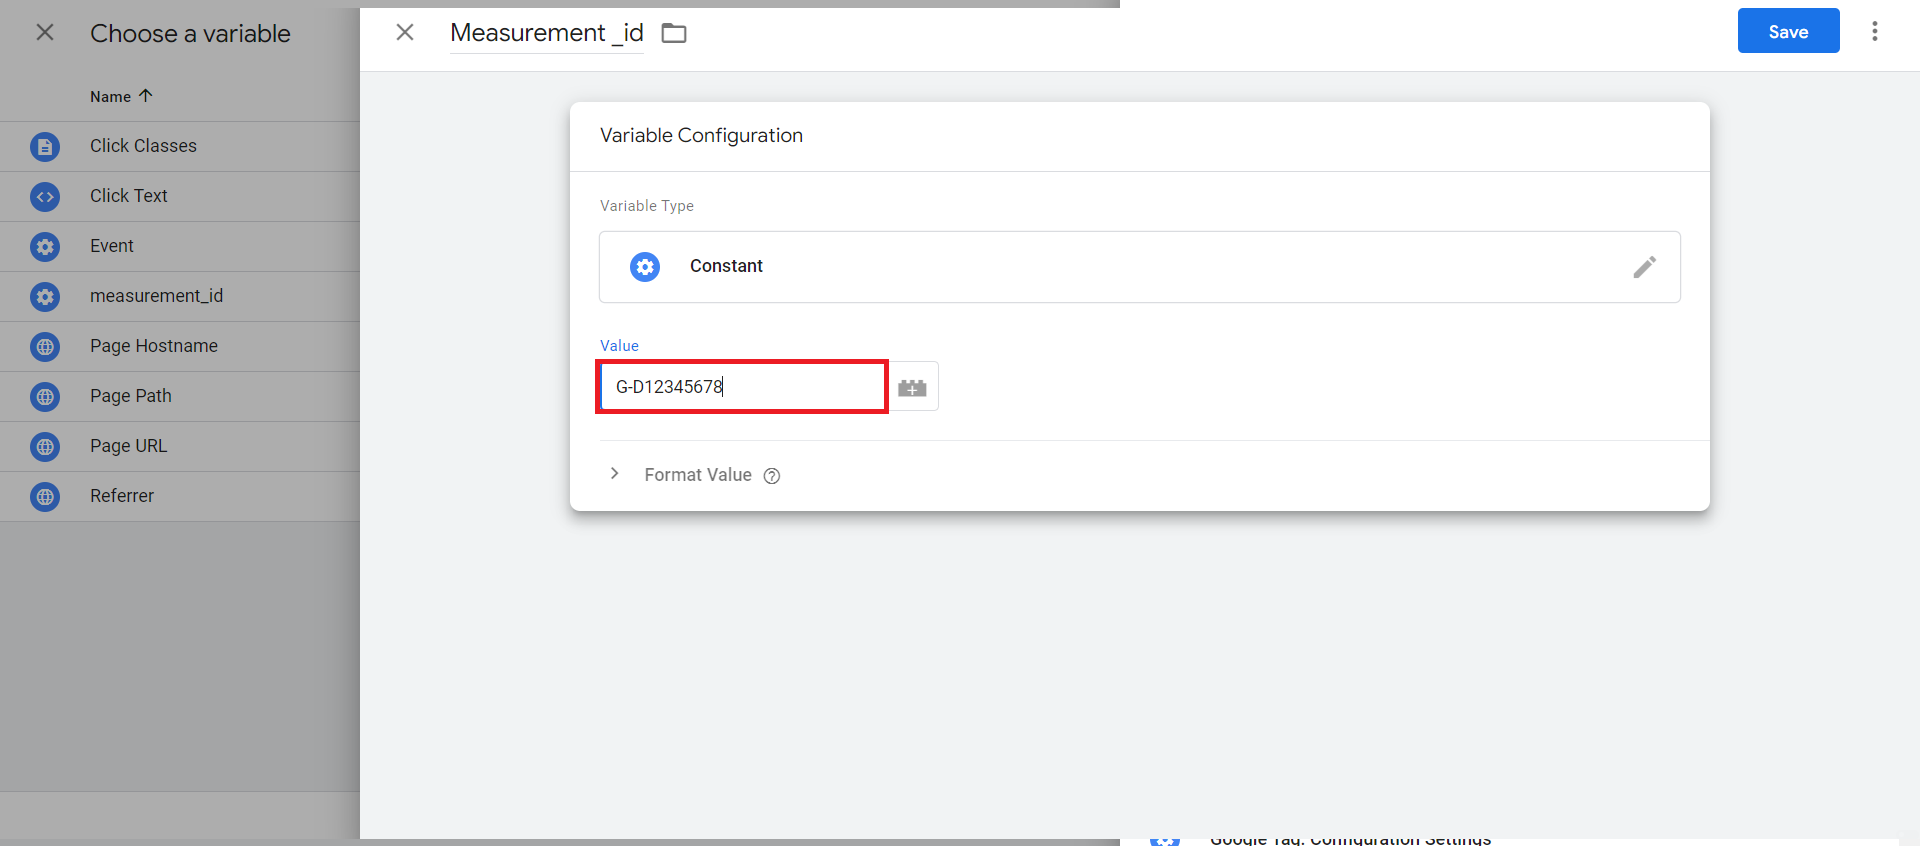
- Click Save.
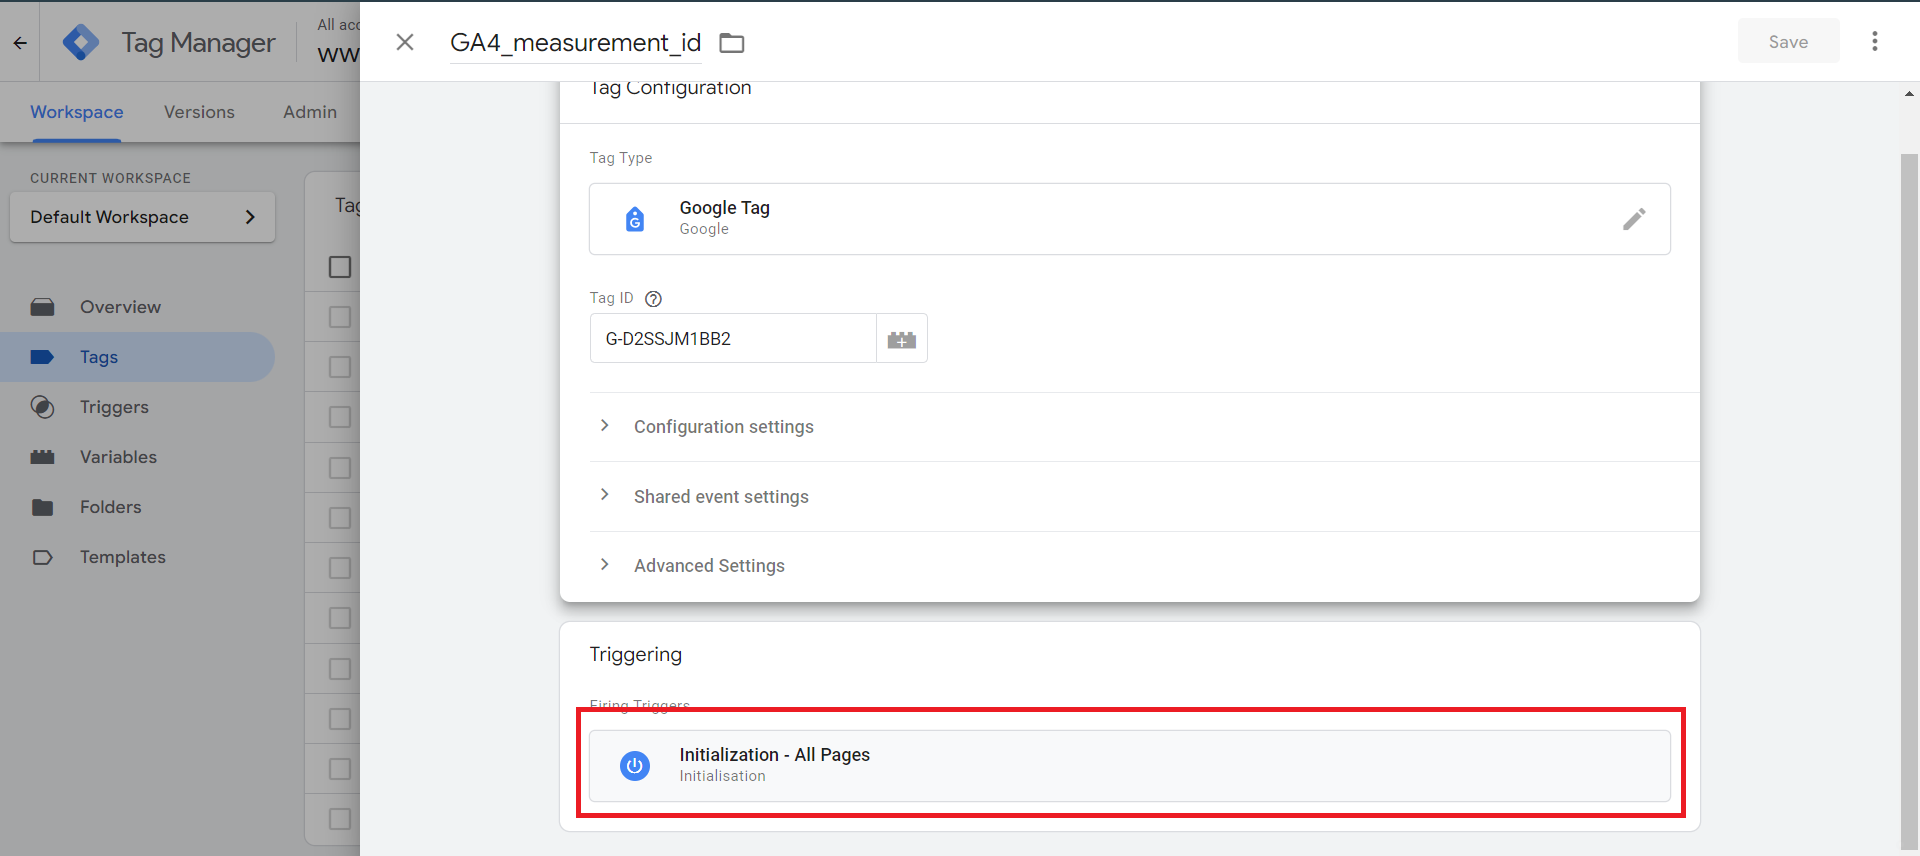
Now we need to select a trigger for our tag. We're going to select the Initialization all pages trigger. This will fire our tag on all of the pages of our website before any other tags, apart from any tags used for consent.
Now let's save the tag. There's also the option to publish the changes you've made to your live website. This is the Submit button. It's important to highlight, that if you already have Google Analytics installed on your website, you will want to remove this at the same time you publish your changes. Otherwise, you will have the tag from Google Tag Manager and your existing Google Analytics tag on your website.
Types of Tags and Triggers
Click :
For example add_to_cart:
Tag:
-
Click Add a new tag
-
Name this (according to your preference), let's name add_to_cart
-
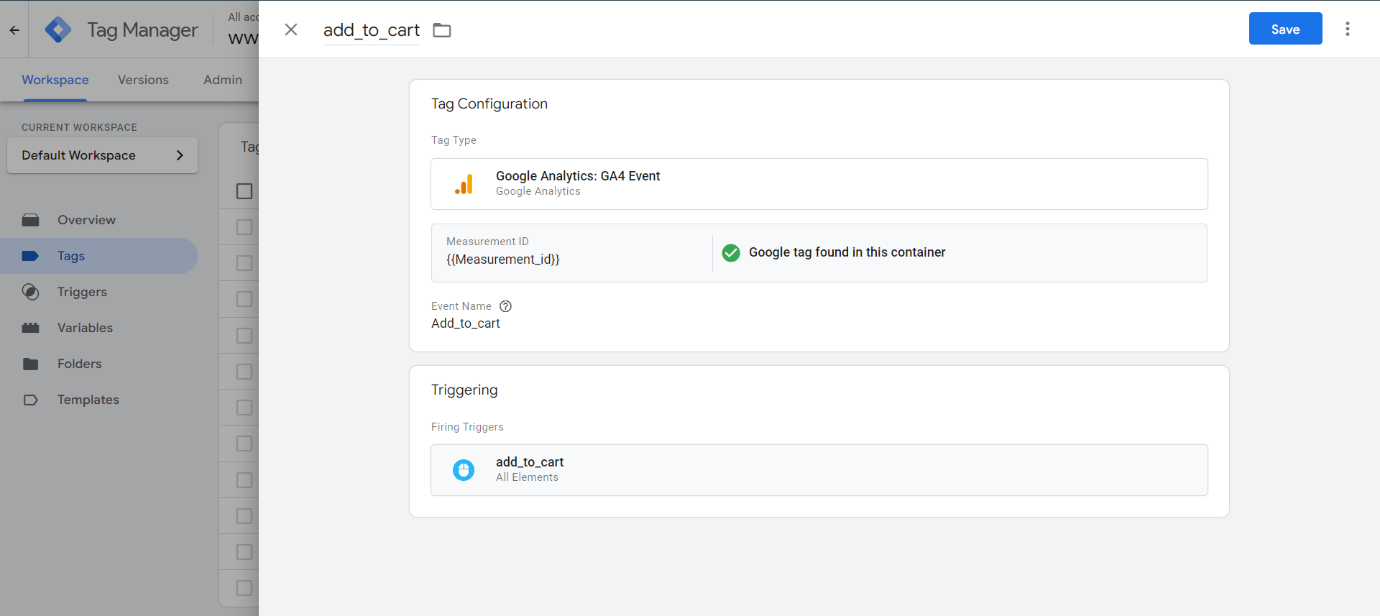
Select Tag Configuration -> Select Google Analytics ->
-
Select GA4 event
-
Put our measurement id variable -> Give Event name (according to your preference) for now Add_to_cart
Trigger:
-
Select Triggering
-
Select the plus sign in the upper right corner
-
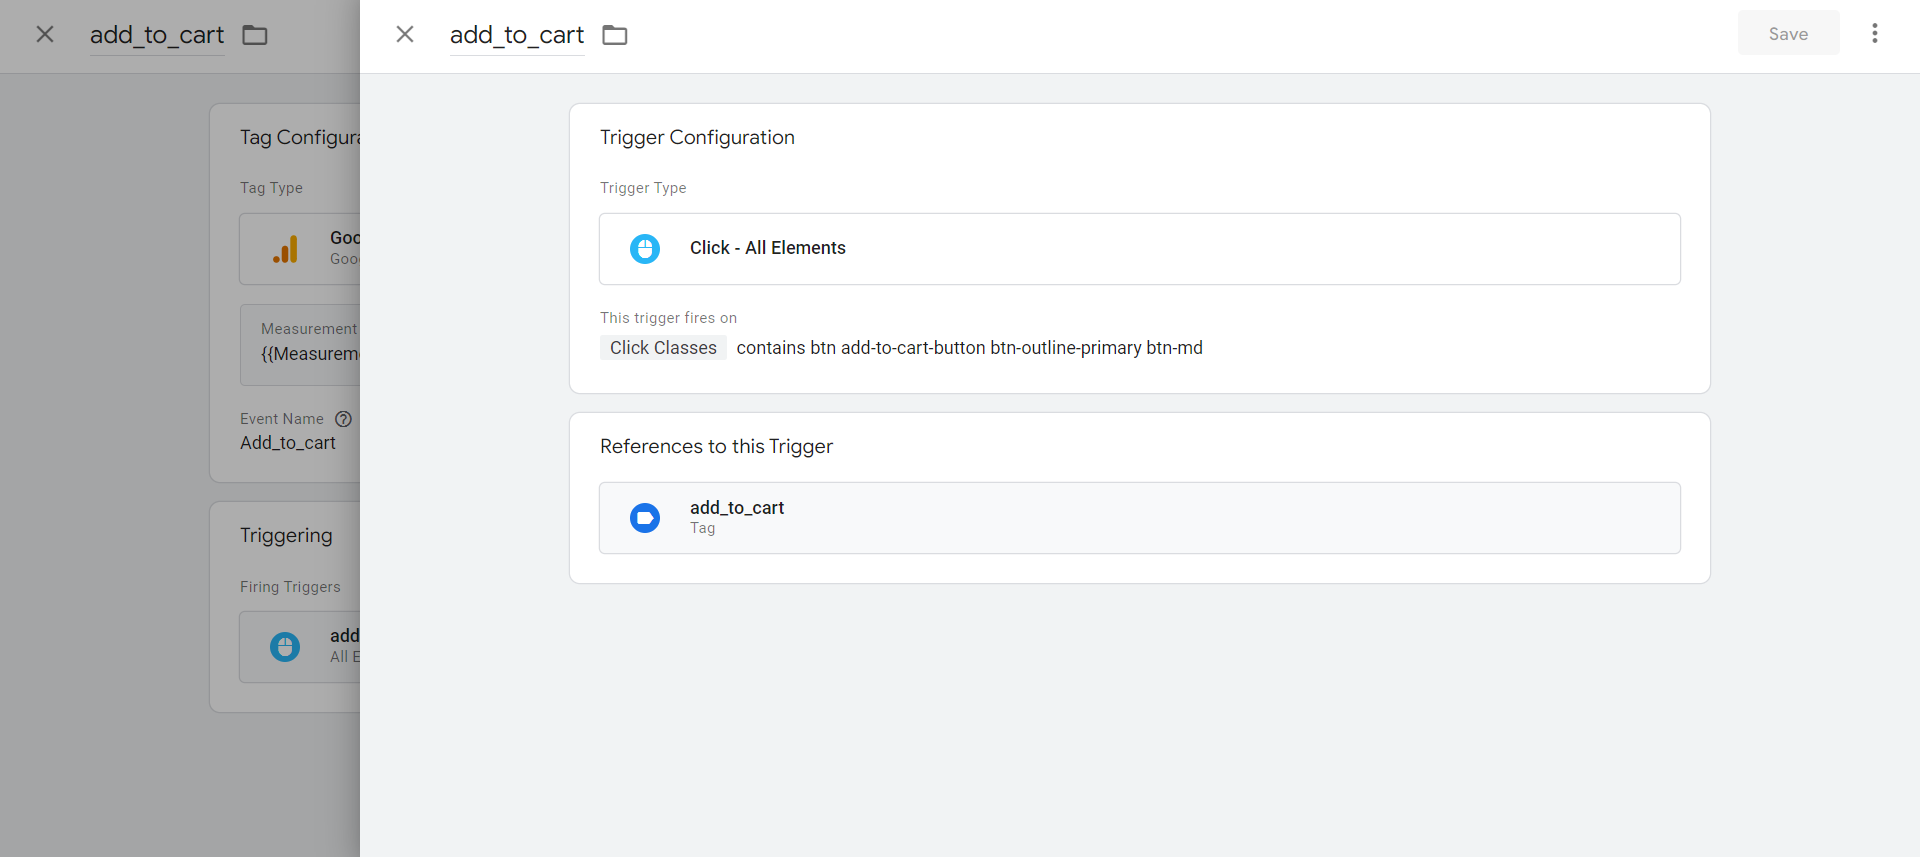
Let's name it add_to_cart ->Select Trigger Configuration
-
Select All Elements -> Select Some clicks -> Click classes contains paste the click class from the website code
-
Click Save to save the Trigger
-
Click Save to save the Tag
Button:
For example login/ sign in/ sign_up:
-
Click Add a new tag
-
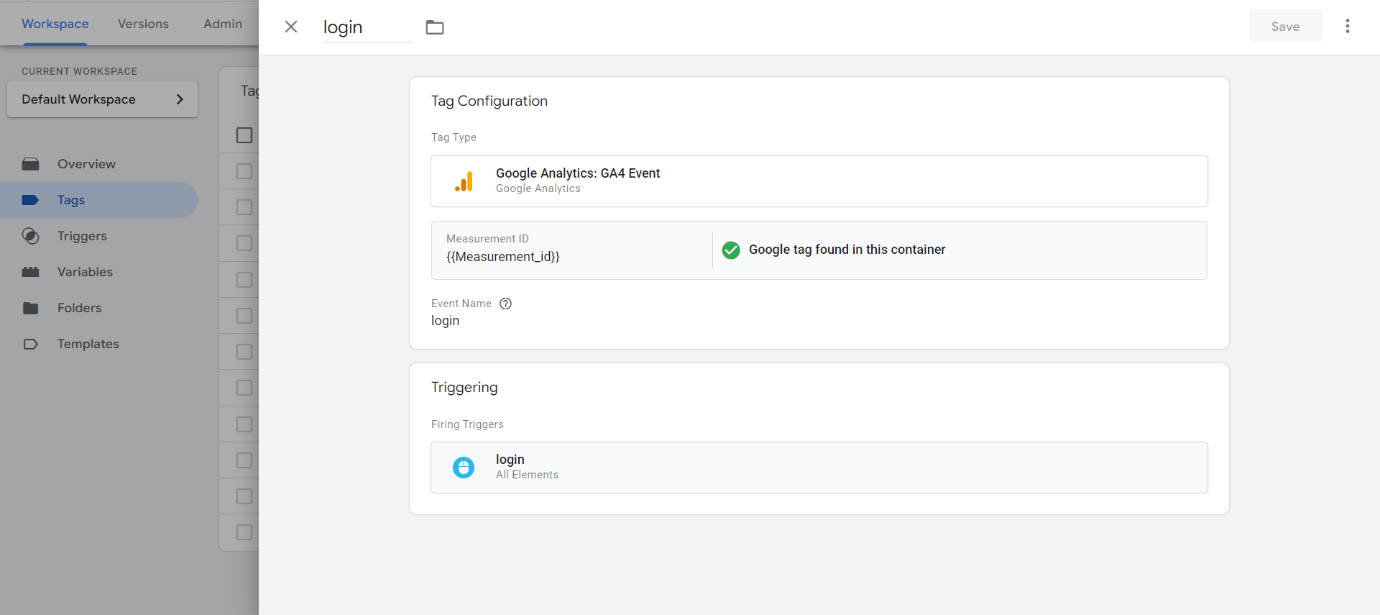
Name(according to your preference) let's name login
-
Select Tag Configuration -> Select Google Analytics -> Select GA4 event
-
Put our measurement id variable -> Give Event name (according to your preference) for now login
Trigger:
-
Select Triggering
-
Select the plus sign in the upper right corner
-
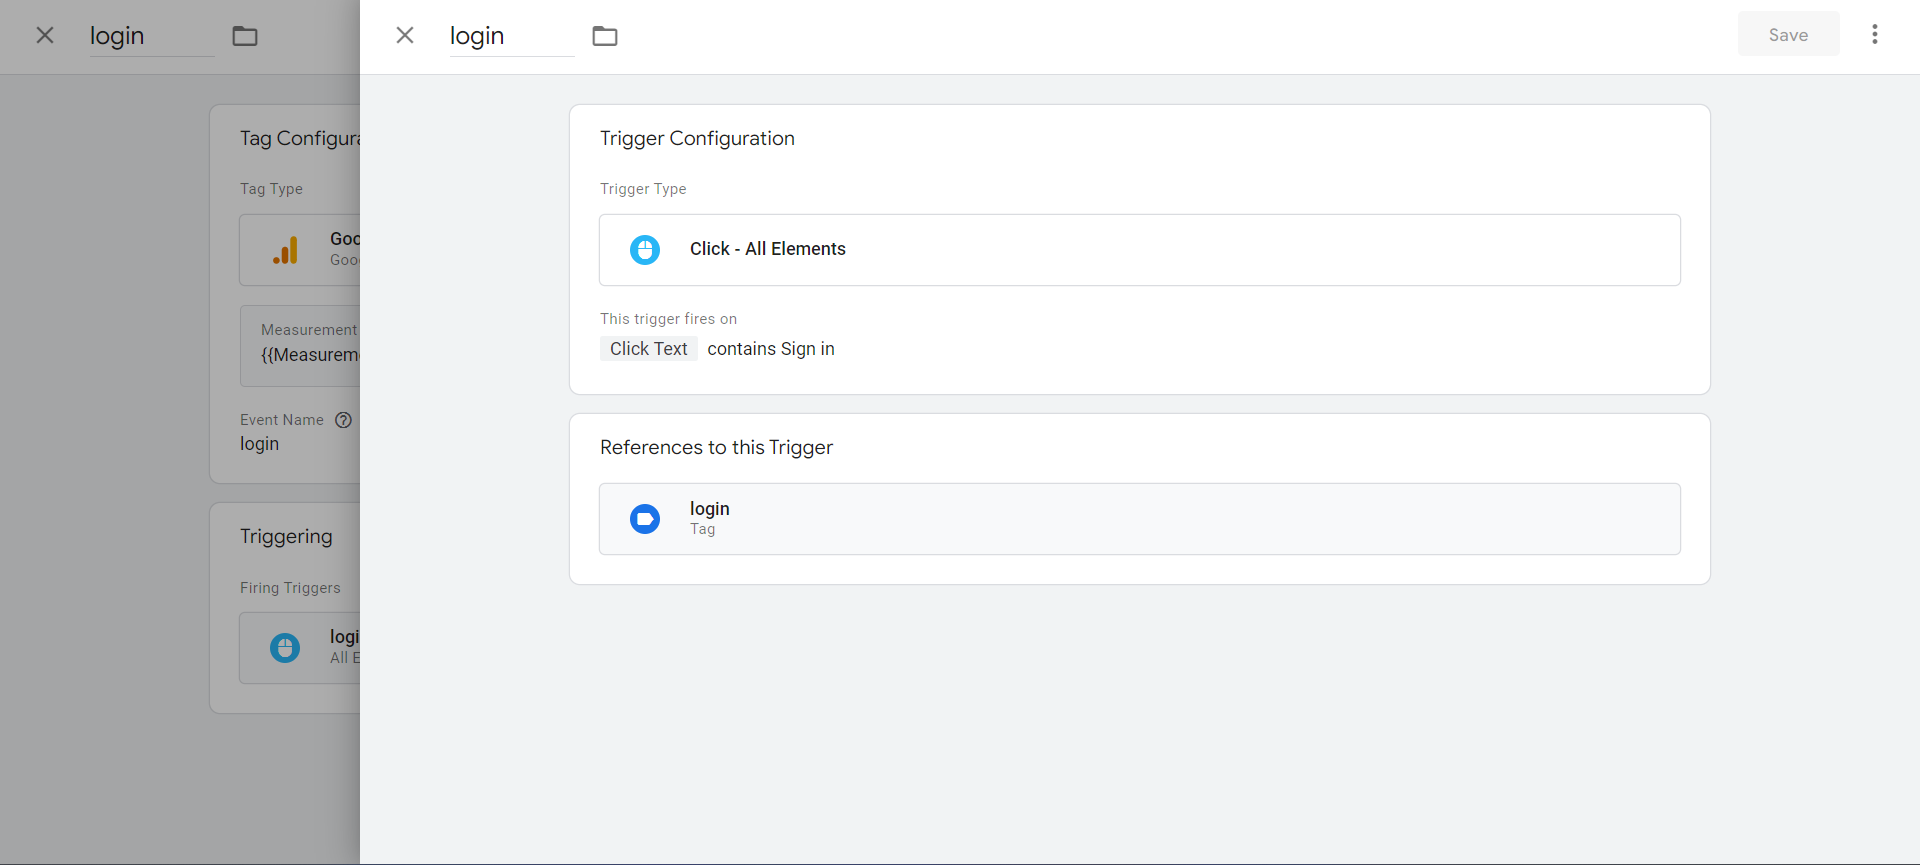
Let's name it sign_up ->Select Trigger Configuration -> Select All Elements -> Select Some clicks -> Click Text contains Sign in ( or mention the text written on the button)
-
Click Save to save the Trigger
-
Click Save to save the Tag
OR
-
Select Triggering
-
Select the plus sign in the upper right corner
-
Let's name it sign_up ->Select Trigger Configuration -> Select All Elements -> Select Some clicks -> Click classes contains paste the button class from the website code
-
Click Save to save the Trigger
-
Click Save to save the Tag
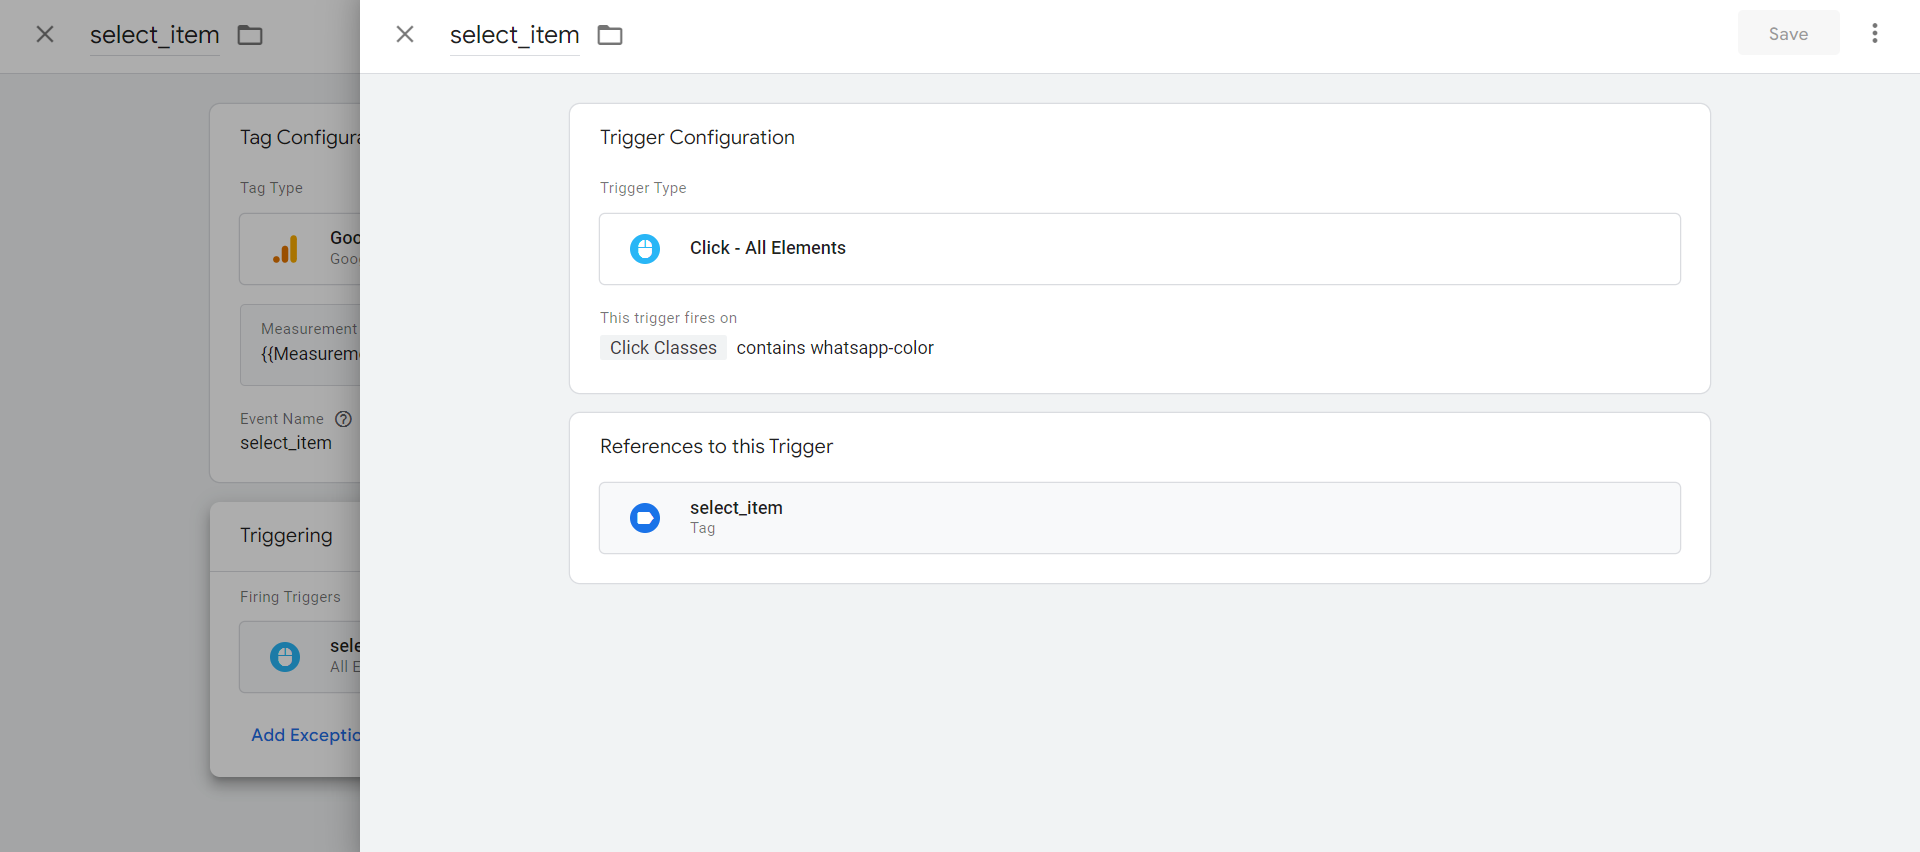
Whatsapp Button:
Suppose any user/customer visits your website and that person clicks on the WhatsApp button the Click URL for desktop and mobile versions will be different so go with the common element ch is present here I have taken class element whatsapp-color from the CSS code
Tag:
-
Click Add a new tag
-
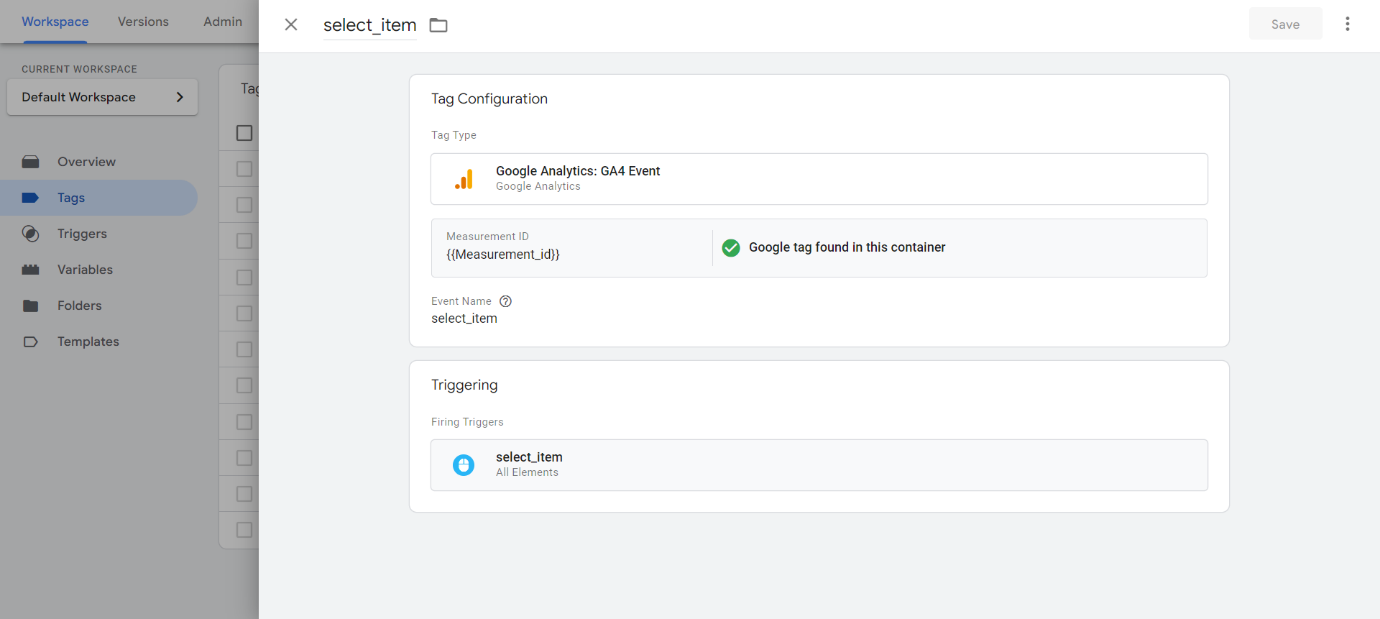
Name this(according to your preference) let's name select_item
-
Select Tag Configuration -> Select Google Analytics -> Select GA4 event
-
Put our measurement id variable -> Give Event name (according to your preference) for now select_item
Trigger:
-
Select Triggering
-
Select the plus sign in the upper right corner
-
Let's name it sign_up ->Select Trigger Configuration -> Select All elements -> Select Some clicks -> Click classes contains paste the common element present in the class here it is whatsapp-color
-
Click Save to save the Trigger
-
Click Save to save the Tag
Note: If you don't have anything in common with the class of the WhatsApp button then you have to create two different Tags with their triggers for the desktop and mobile versions.
Now submit all our tags
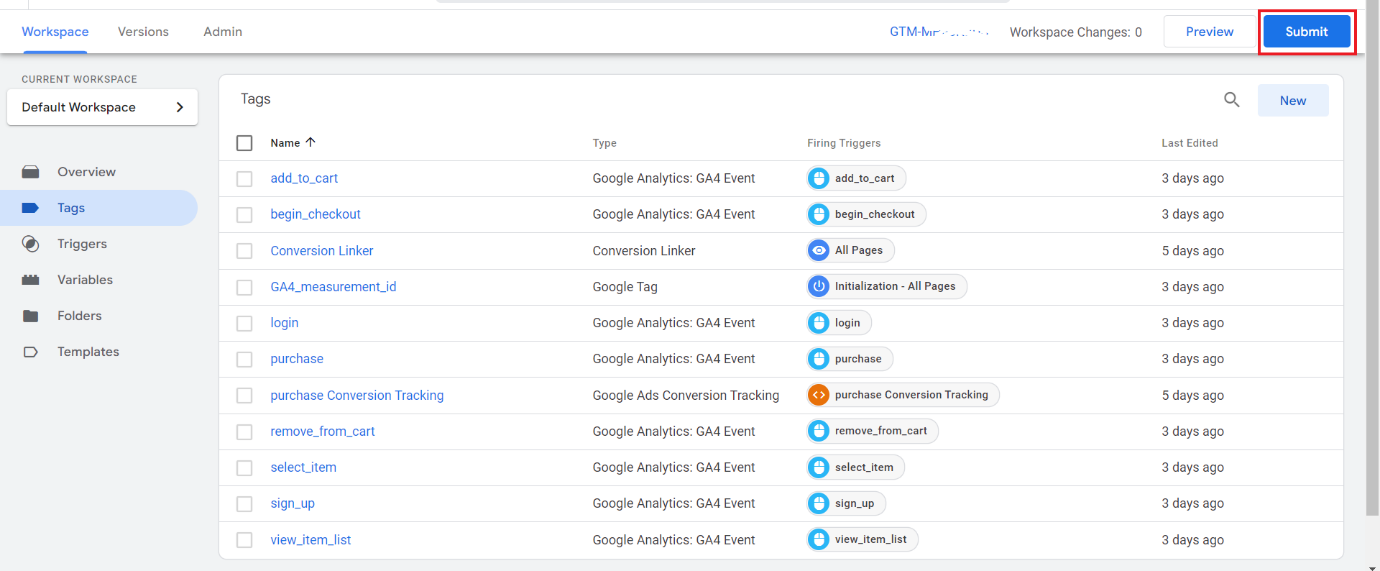
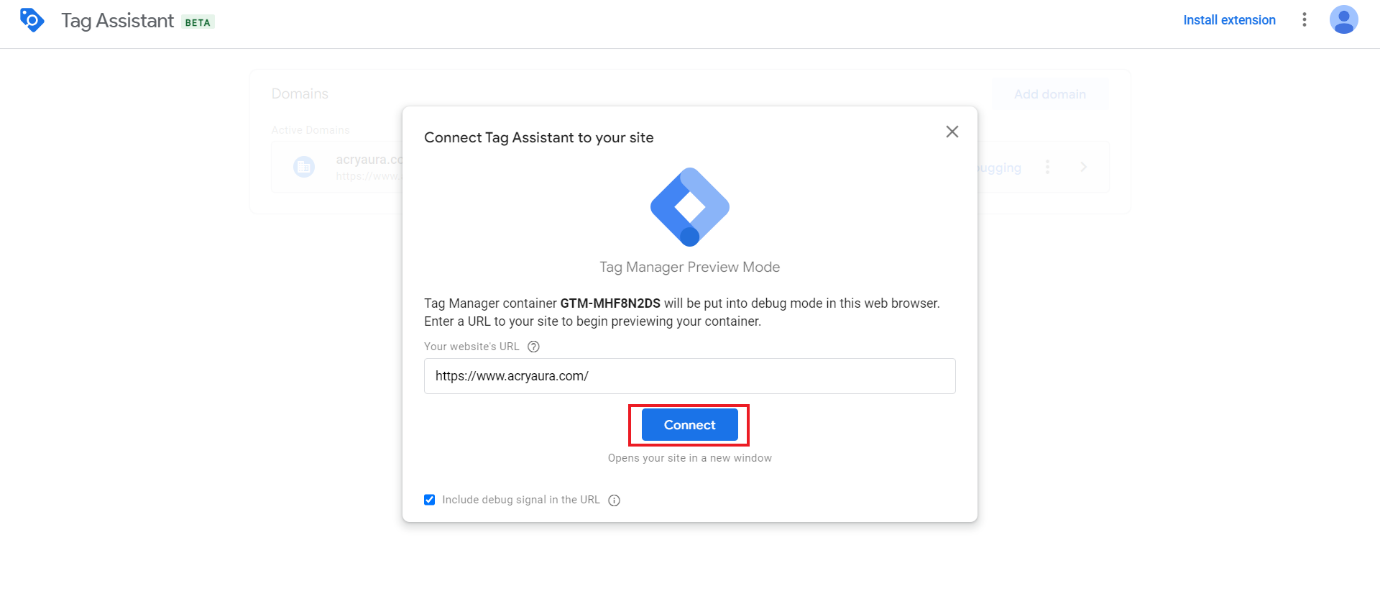
We can now Preview our changes.

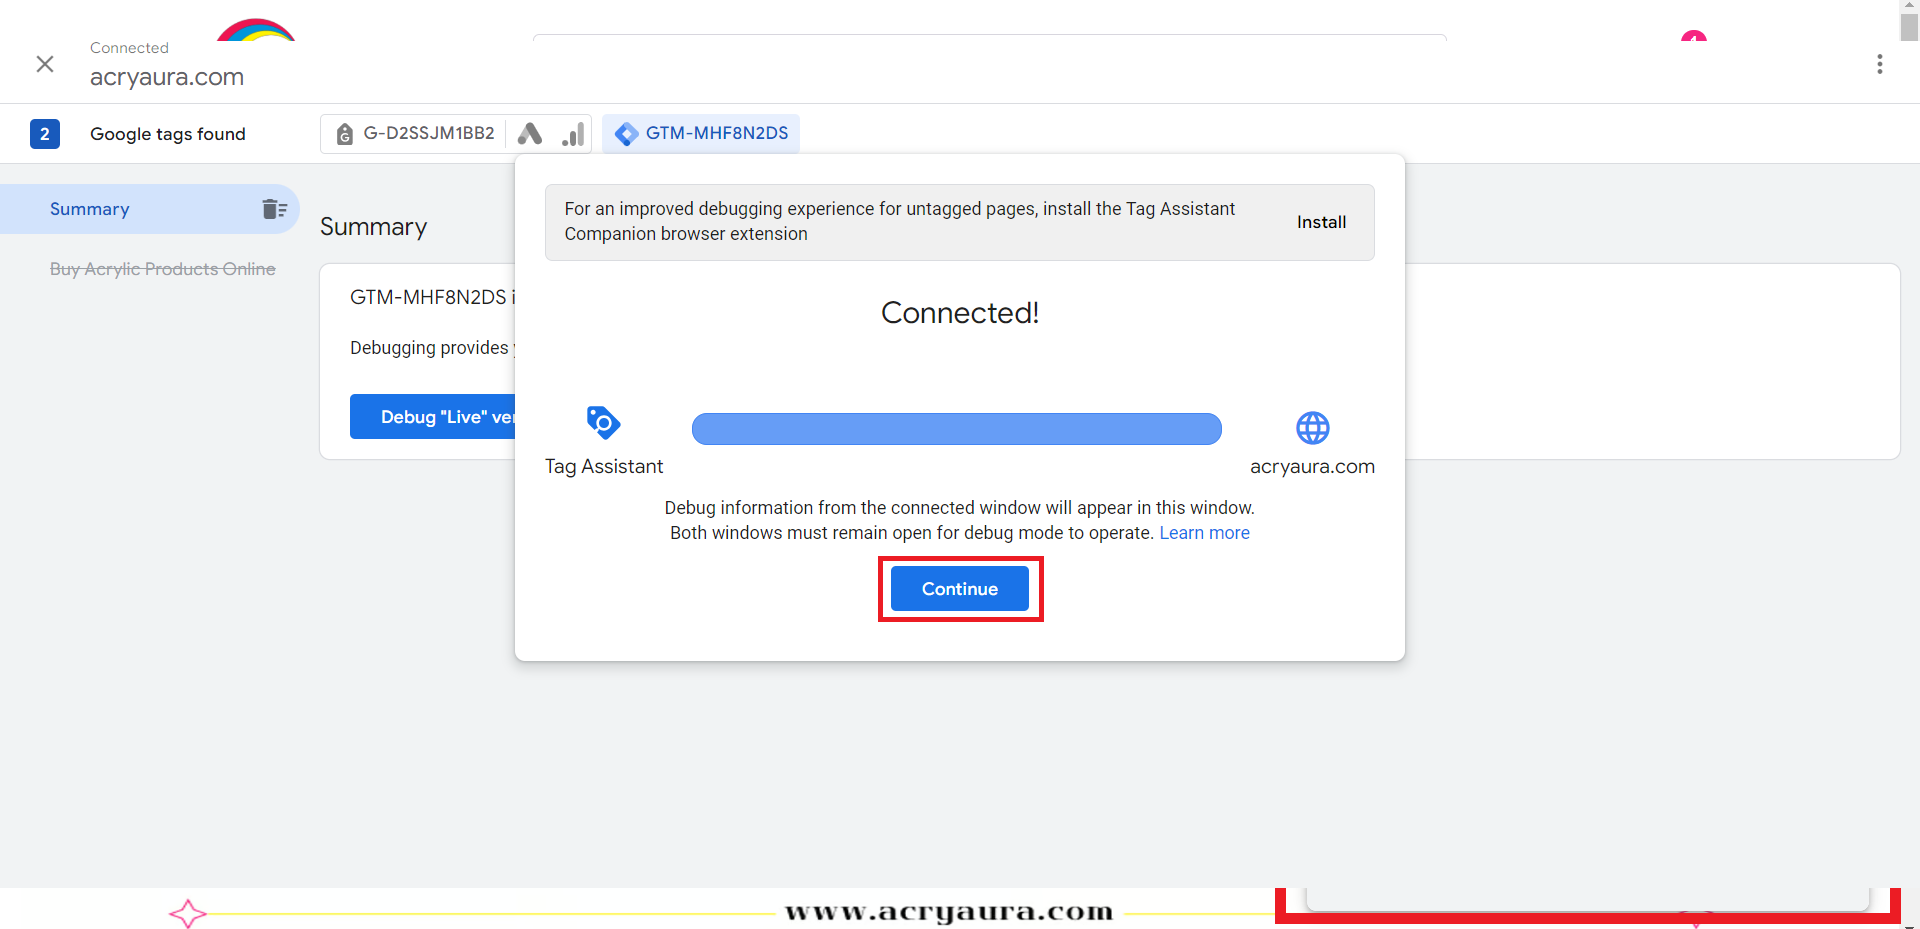
We enter the URL of our website. And click Connect
Website loads along with Tag Assistant. Now we can click on the buttons or clicks to check our tag.
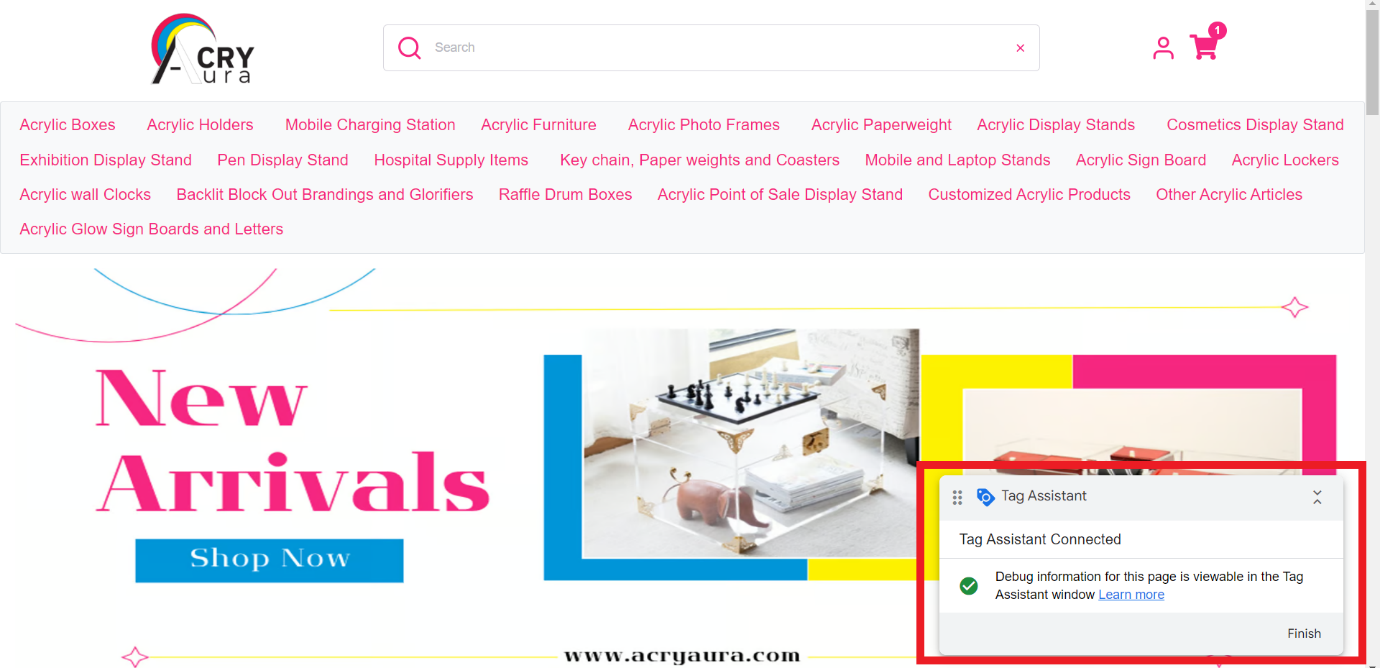
Disclaimer: In the right bottom a small window must be shown that say Tag Assistant Connected otherwise there is something wrong with your tags
Minimize the open website then click on Continue
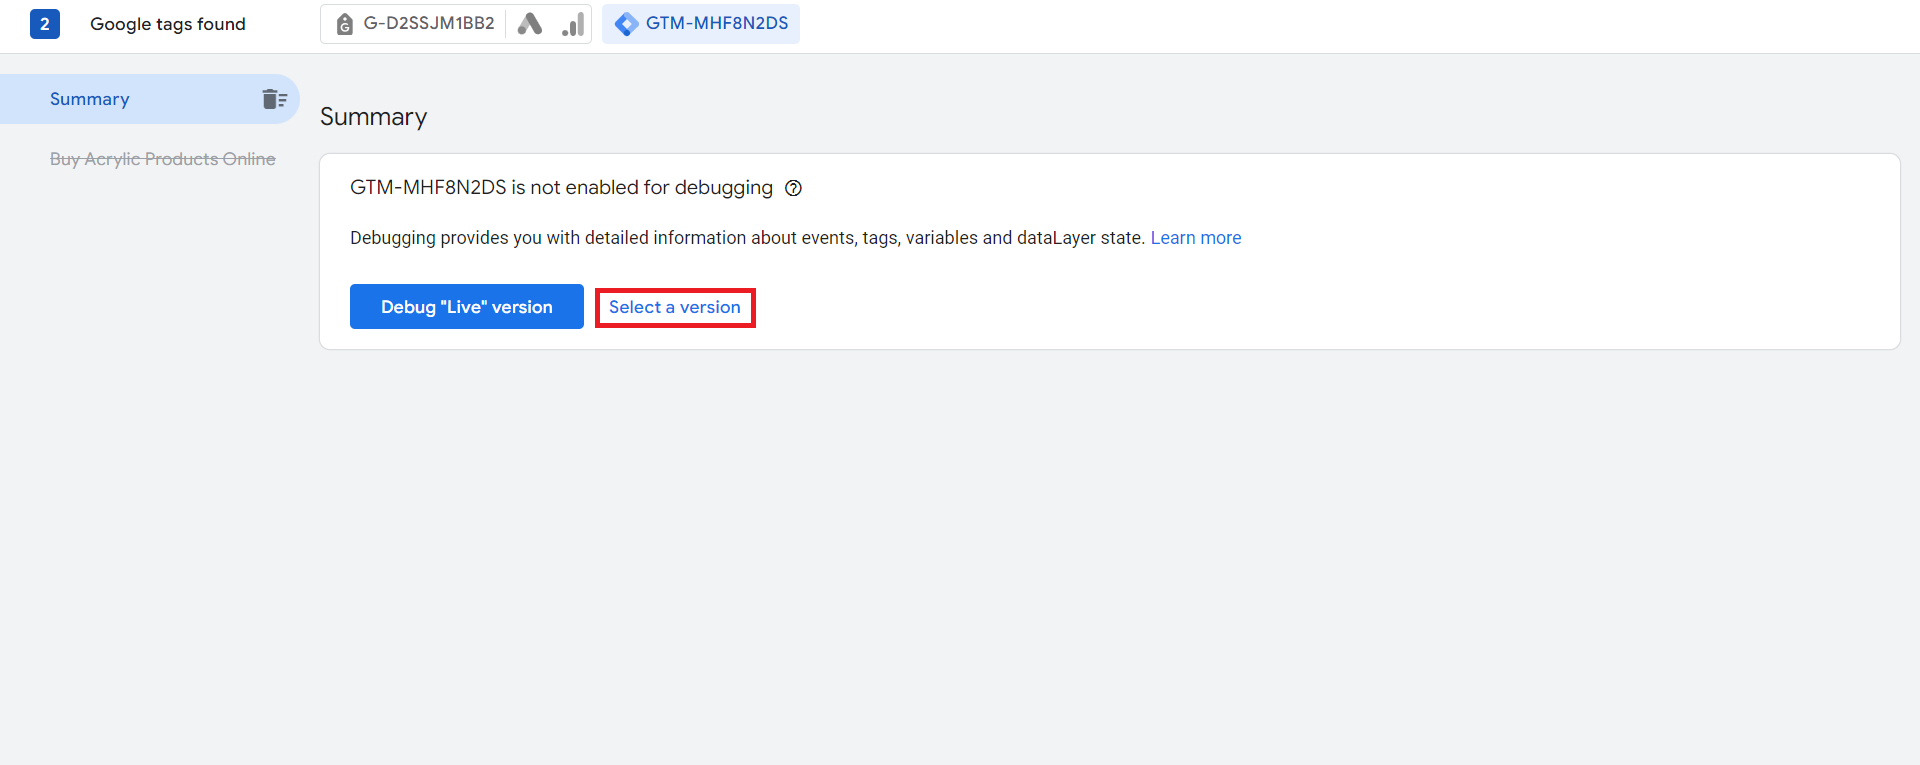
Click on Select a version
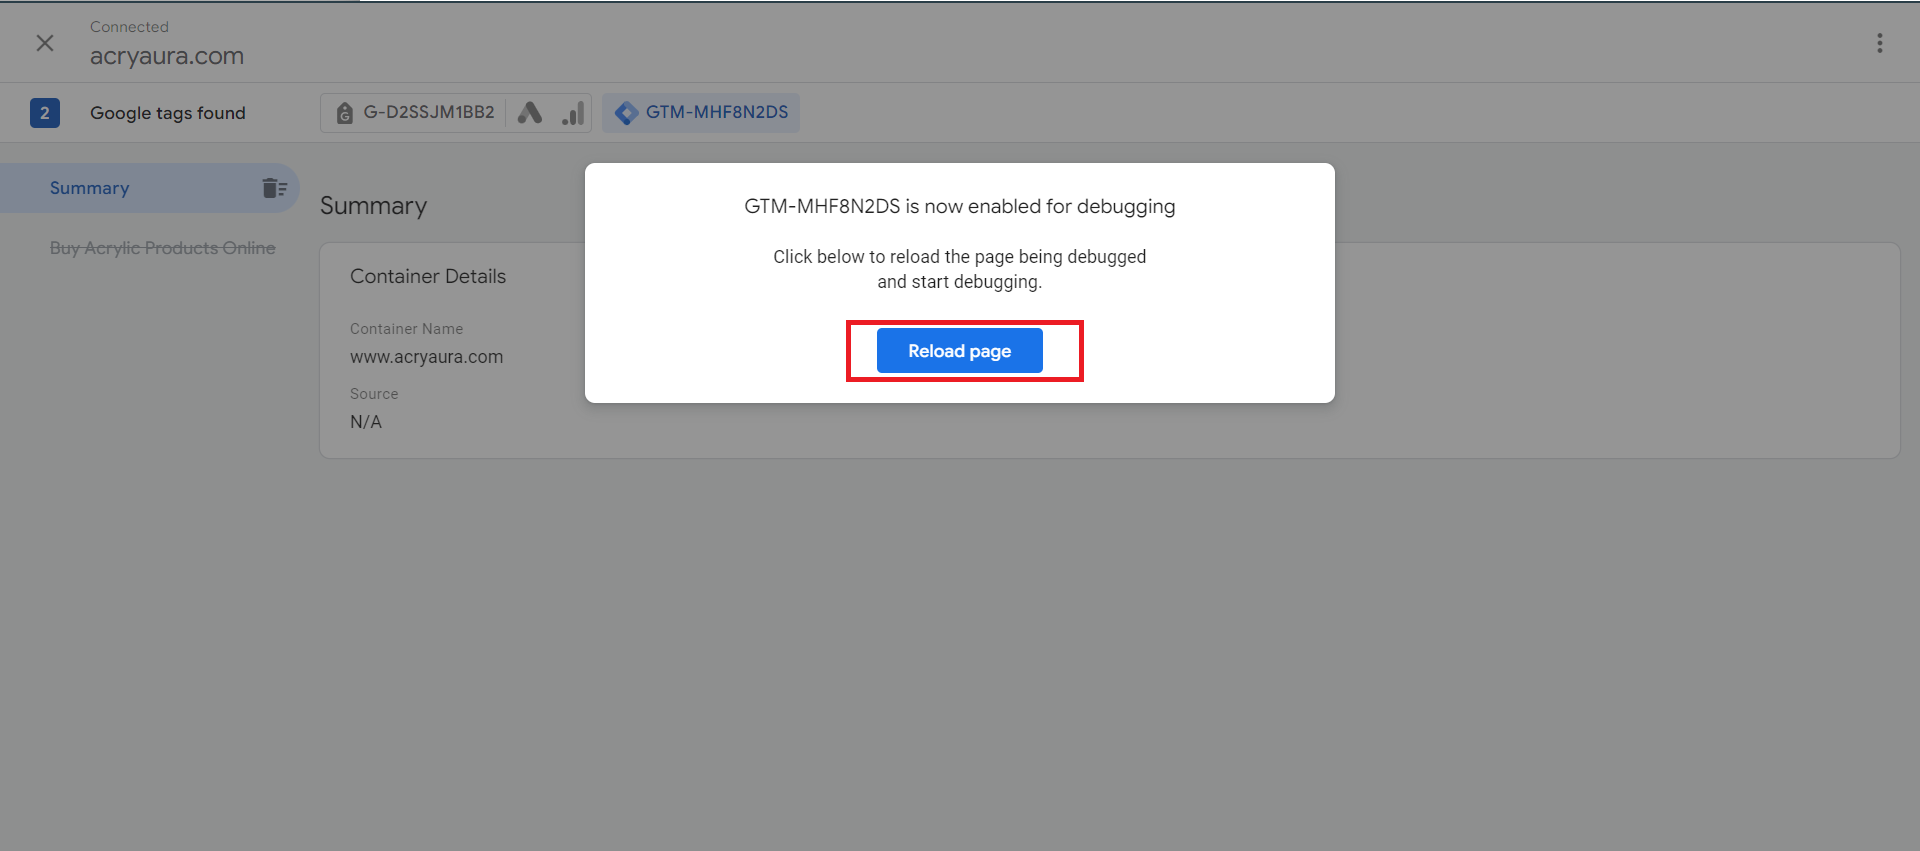
Then go to the bottom-most option that will be your latest version and click Debug
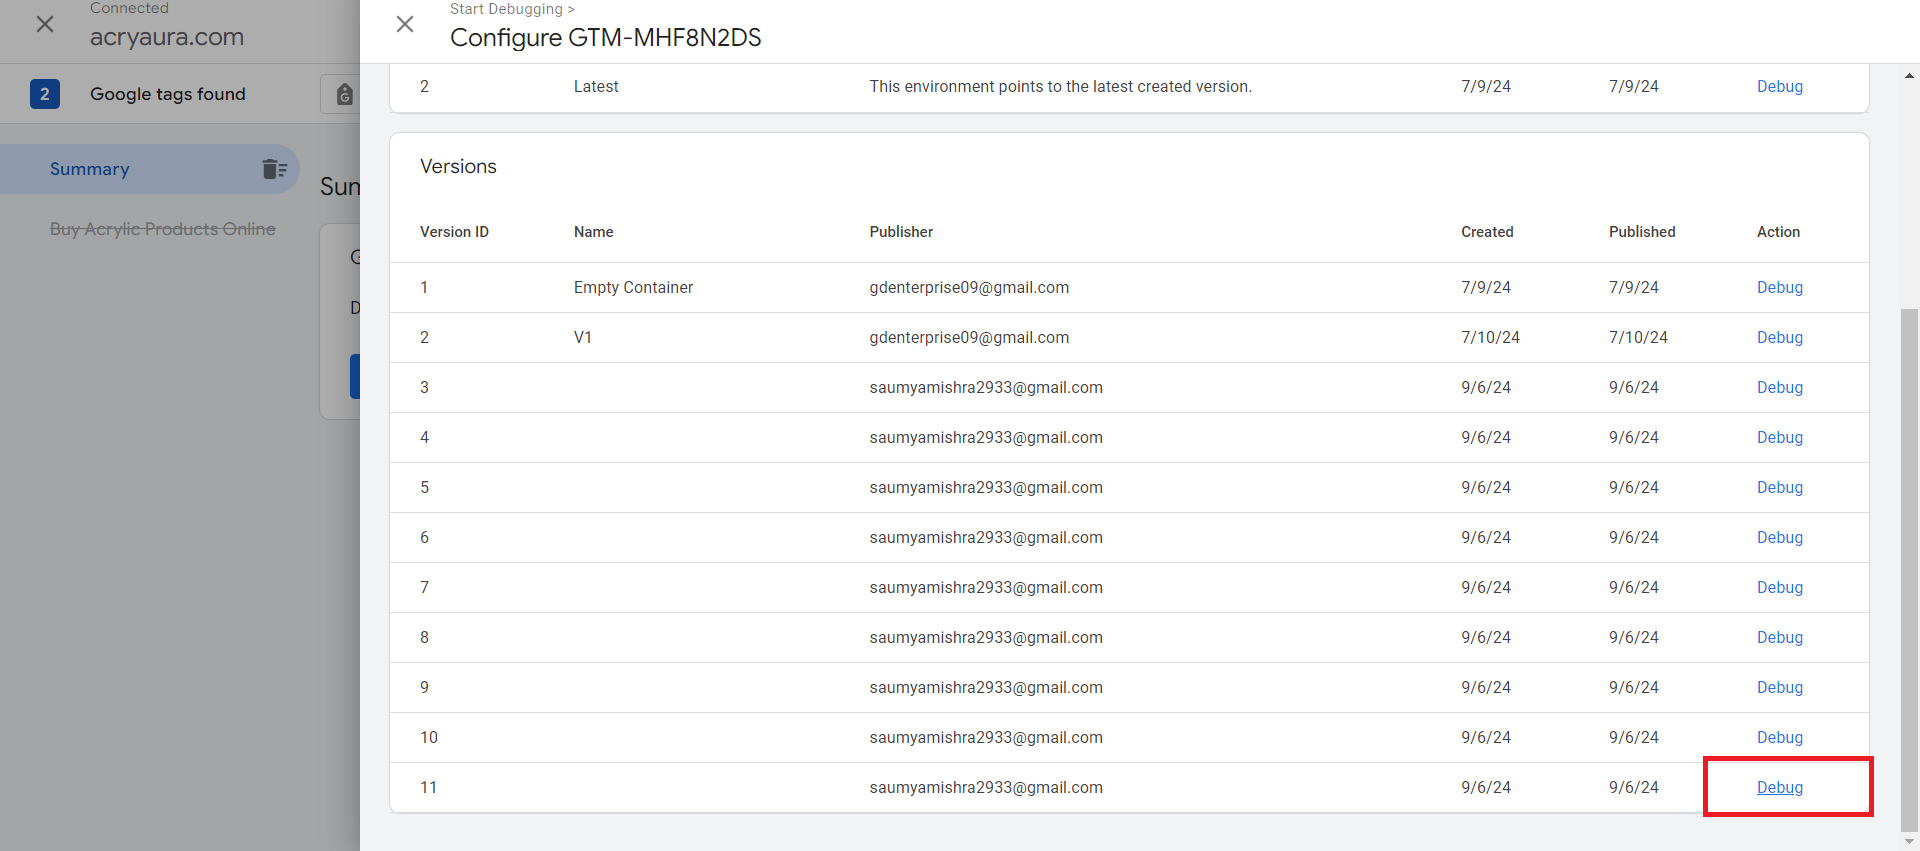
Then click on Reload now you can test you tags